How To – Change Your Brake Shoes

January 26, 2024
Difficulty

What Do I Need?
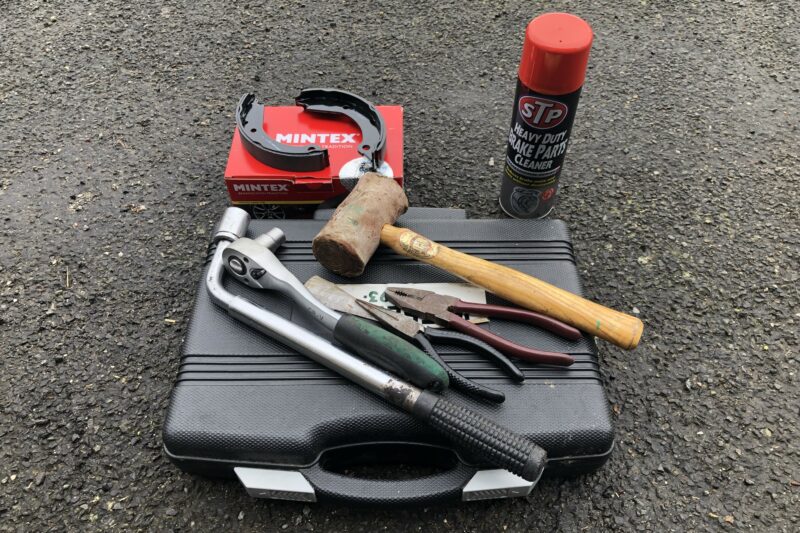
New brake shoes specific to your vehicle
Wrench and sockets/spanners of the correct size
Pliers
Brake cleaner
Wire brush and bunjee cord (optional)
Mallet (optional)
Why Should I?
Brakes, whatever the setup, are integral to the safe operation of your classic. If you can’t stop, you die. It’s as simple as that. And seeing as we’re Car & Classic, not Car & Casket we thought we’d break down how to change your brake shoes should your car employ such a system because if you own a classic car, there’s a good chance it has drum brakes installed. Either at the rear or all round, depending on the model and age. Even if it has discs on all four corners it probably still has shoes at the back as part of the the handbrake system.
Drum brakes employ the same basic principle as disc brakes whereby a force is applied to push two surfaces together to create friction in order to stop the wheels from turning. In a drum brake setup, brake shoes sit inside a rotating metal drum which connects to the wheel. When you depress your brake pedal or pull the handbrake lever, a cable is tensioned which forces the brake shoes against the brake drum. This provides that necessary friction needed to stop your car from moving and so, like we said, and as we’re sure you’re aware, properly functioning brake shoes in good condition are vitally important. They’re a consumable part and should be checked regularly. Luckily we’re here to show you how to replace them.
Talk Me Through It
NB: when replacing brake shoes always do both sides of the car together in pairs.
1) Loosen the wheel nuts and then jack up the car safely and rest it on some axle stands.
2) Remove the wheel nuts along with the wheel and if your car has disc brakes undo the caliper bracket bolts and remove the caliper and bracket. Hang it out of the way using a bunjee cord to prevent any damage to the flexible brake lines.
3) Make sure the car is held in place by wheel chocks and undo the handbrake. Referring to your car’s service and maintenance manual locate the handbrake adjustment mechanism and loosen the tension in the cable or disconnect it altogether.
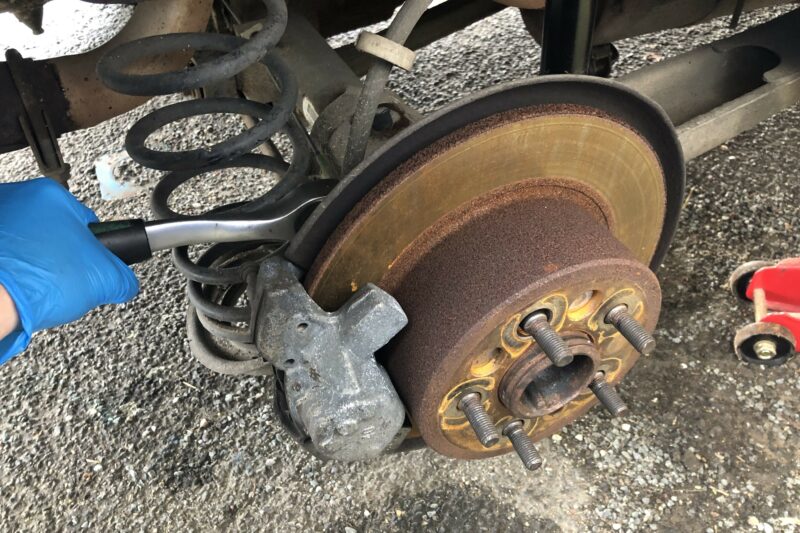
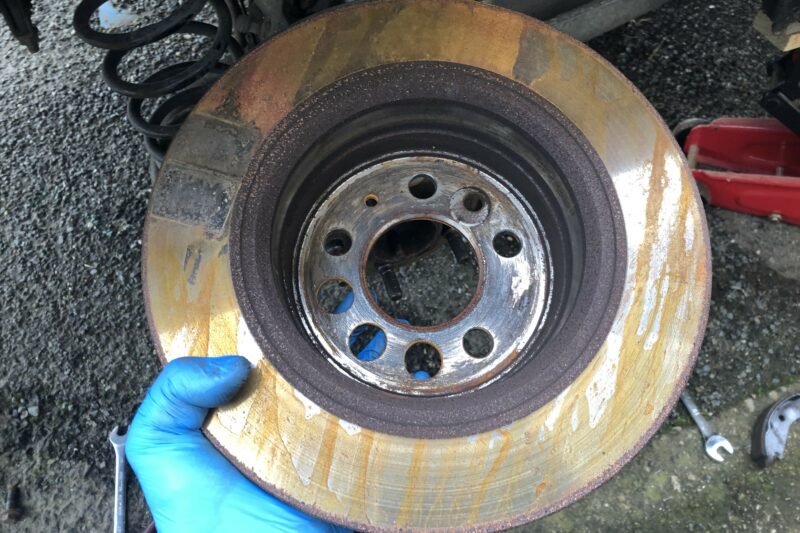
4) If your brake disc/drum is held on with a locating screw remove this and then withdraw the disc/drum itself from the hub. The disc or drum may well be rusted to the hub so grab a mallet and gently persuade it free, being careful not to damage anything.
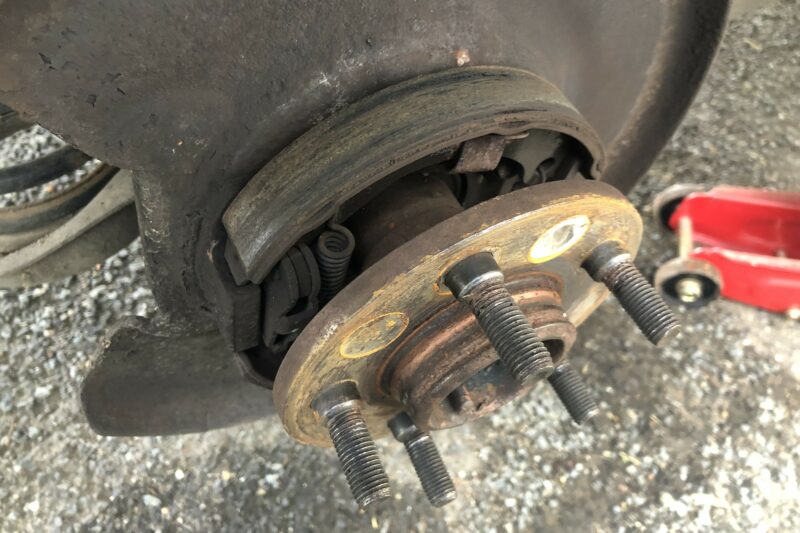
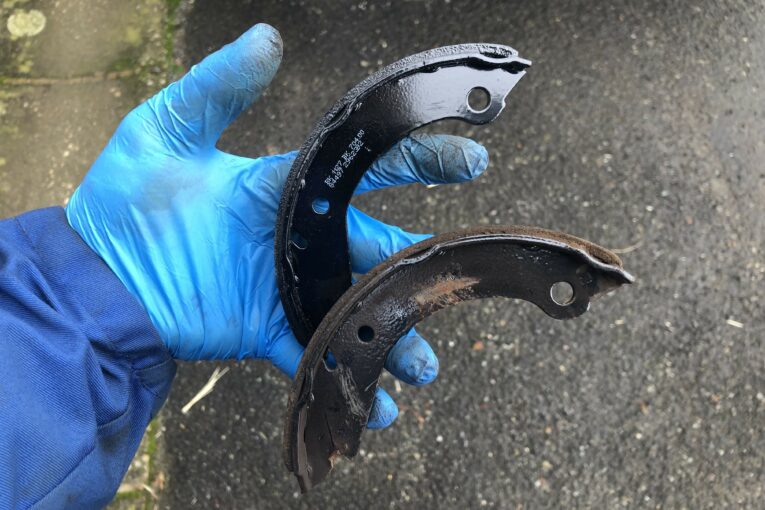
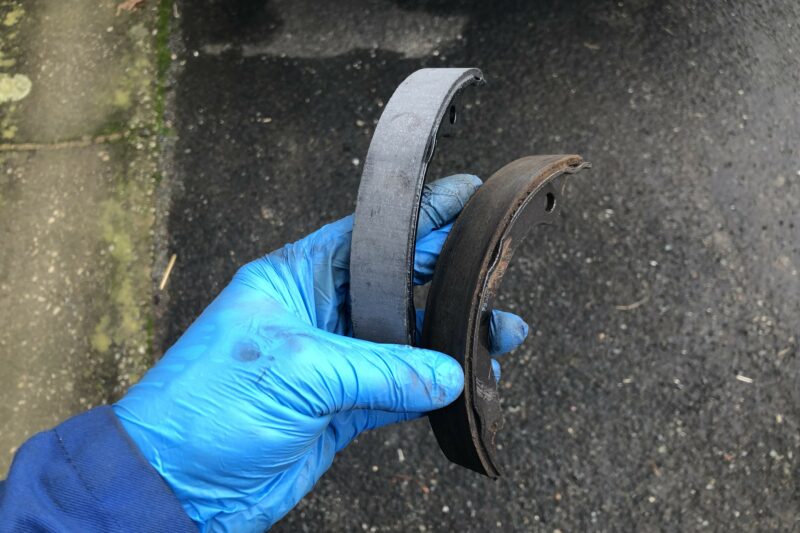
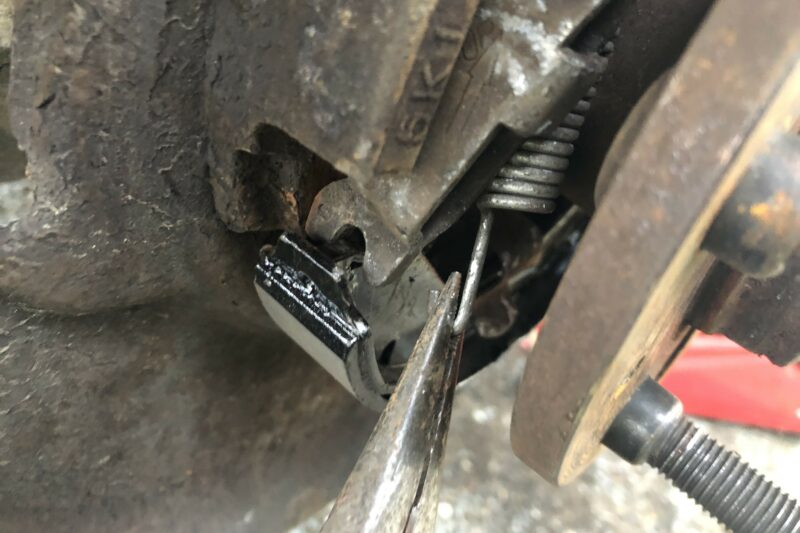
5) Using a pair of pliers remove the brake shoe retaining springs and remove the old brake shoes from their locating brackets. It may be helpful to lay out all of the pieces as they come off so that you understand how it all goes back together.
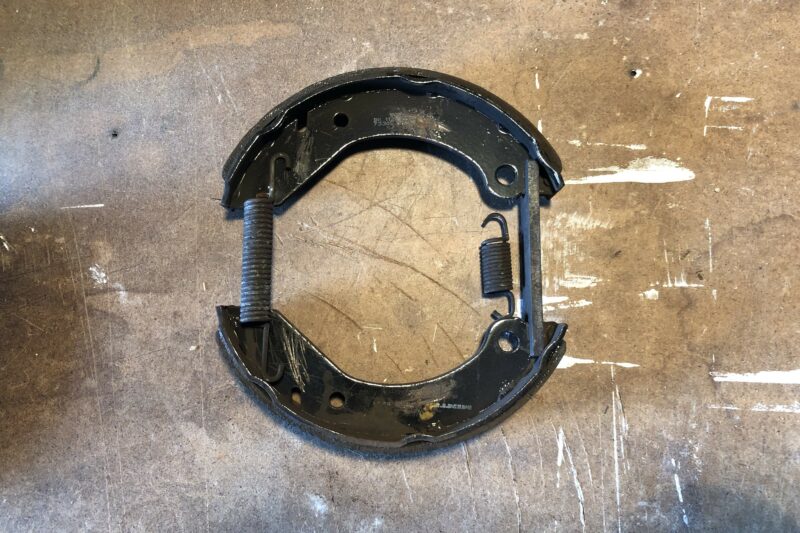
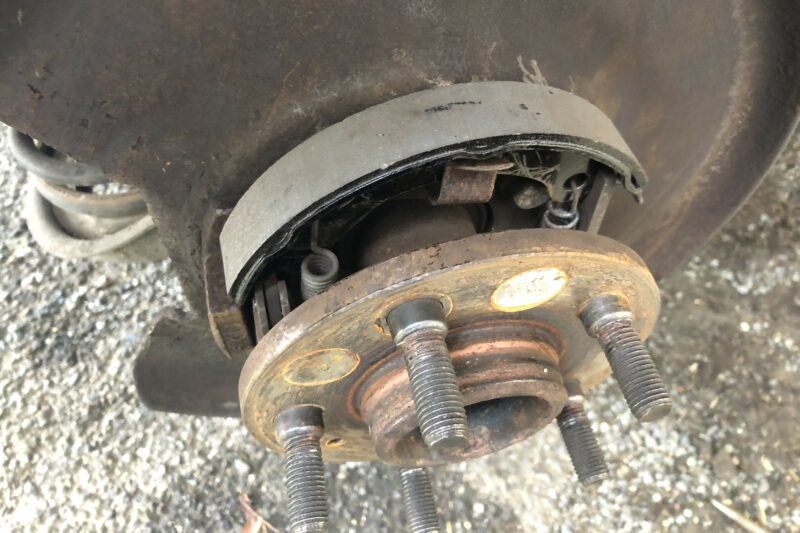
6) If the area is particularly grubby give everything a good scrub with a wire brush and some brake cleaner (including the inside of the drum/disc and then insert your new brake shoes into place and re-attach the retaining screws. Refer back to the layout of the old shoes if necessary as mentioned above.
7) Refit the disc/drum and brake caliper if applicable and refit the wheel.
8) Re-tension the handbrake cable and test everything works as it should.
Conclusion
Classic car brakes are pretty simple in the grand scheme of things, especially when it comes to a drum brake setup. They may not be as powerful or efficient as discs but they’re cheaper and the shoes don’t need to be changed as often. They do still require regular inspection though but it’s an easy job so make sure to add this to your regular maintenance and servicing schedule along with our other handy how to guides from this series.