How To – Change Your Front Coil Springs

December 2, 2022
Difficulty

What Do I Need?
New coil springs specific to your vehicle
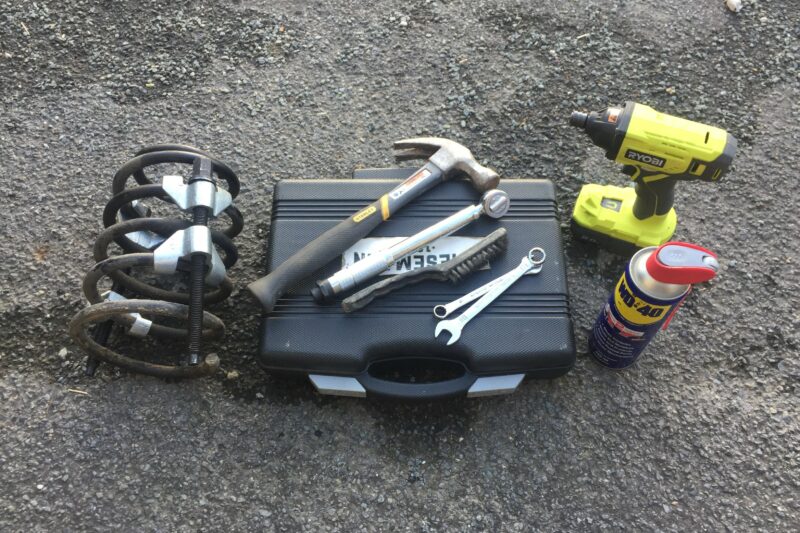
Spring compressors
Wrenches, sockets and spanners of the correct size
Ball joint separator or hammer (depending on how ghetto you are)
Torque wrench
Release fluid
Impact driver (optional)
Wire brush (optional)
Bungee cords (optional)
Why Should I?
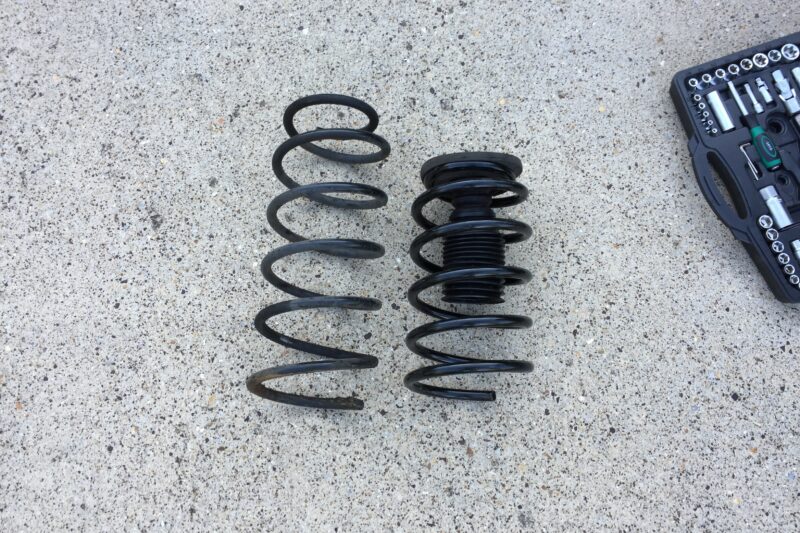
A good, correctly functioning set of coil springs is vital if you want your car to perform properly. From effectively absorbing the various road surface imperfections (for want of a better word), to ensuring even tyre wear, along with less degradation of other parts of the vehicle, they are an incredibly important facet of your car’s overall functionality. Suspension springs have a finite life, however. They can lose their inherent springiness and therefore sag, for a start, and while this may be beneficial from a ‘wicked stance bruv’ perspective it is detrimental to how your classic car rides and handles. Not only that but springs are made of metal which can and will rust if not looked after, which means the structural integrity of said springs can become compromised and if your springs snap, well, it’s not good, obviously.
Generally speaking it’s easy to visually inspect your coil springs and so diagnosing any issues is usually fairly straightforward. Also, while you’re in amongst the suspension gubbins it’s worth inspecting all of the rubber parts such as bushes, ball joints and boots and replacing any worn items as necessary.
Talk Me Through It
NB: when replacing front coil springs it’s good practice to do both sides together.
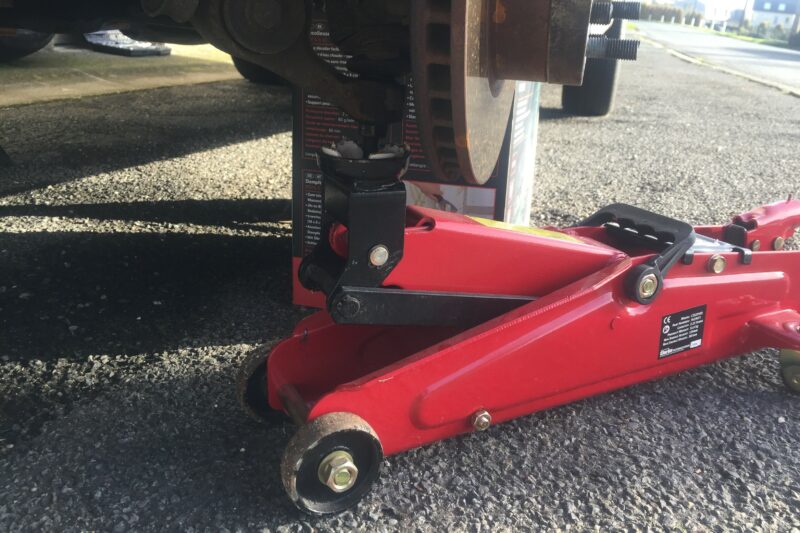
1) Loosen the wheel nuts and then jack up the car safely and rest it on some axle stands. Remove the wheels.
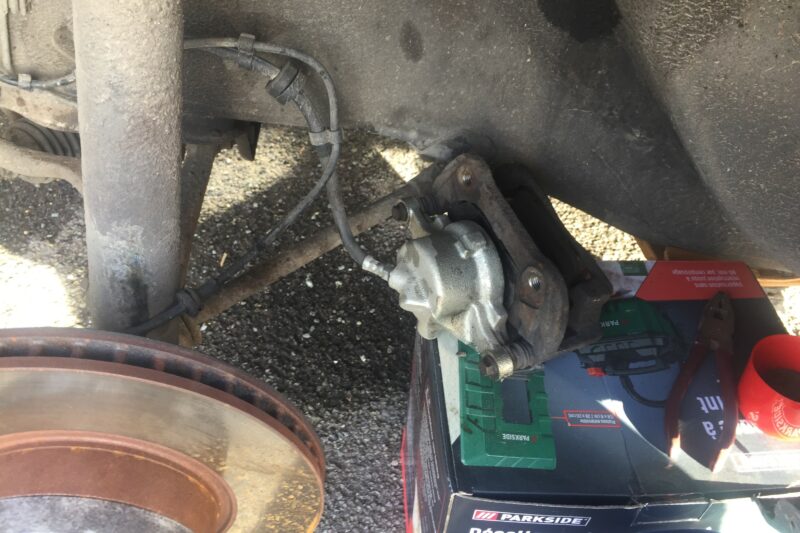
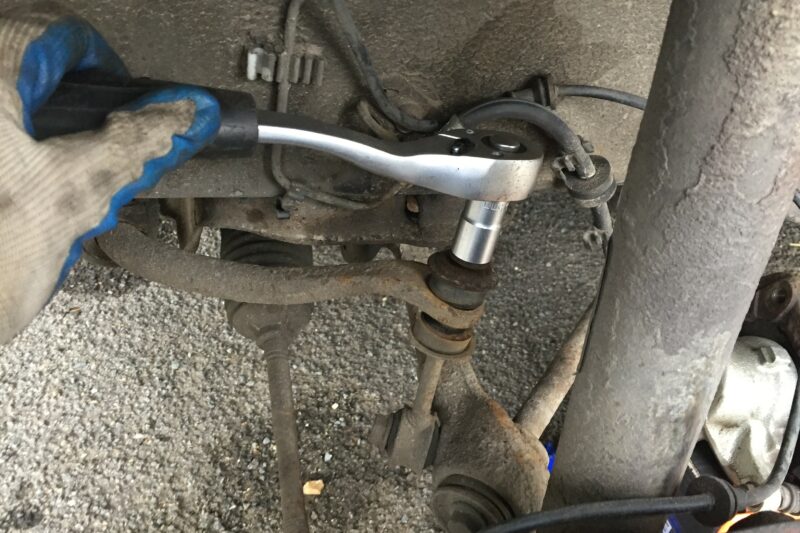
2) Remove the brake caliper and bracket and hang or rest the assembly on something solid – not the coil spring, for obvious reasons. You do not need to undo the lines just take care not to kink or twist them in any way.
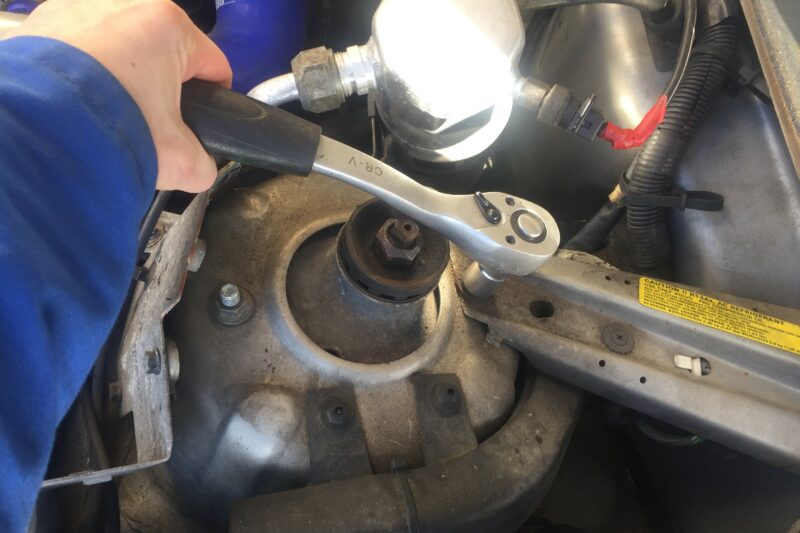
3) Loosen the strut top nut (but not all the way). It will be way easier to do this now than when the suspension strut is out of the car.
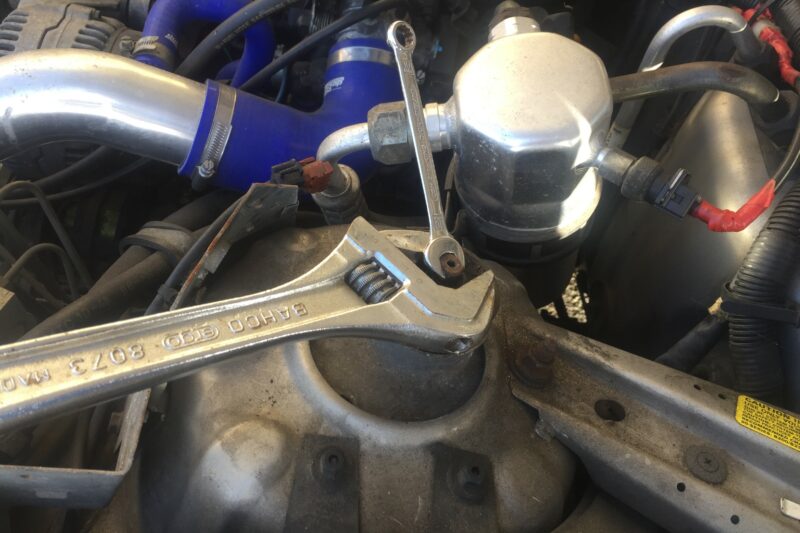
4) Disconnect the sway bar end link by removing the top nut.
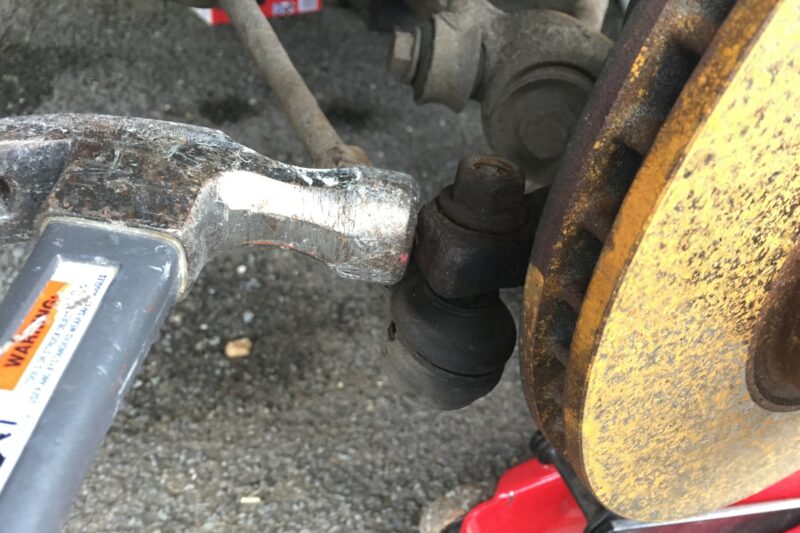
5) Loosen the tie rod end ball joint and then separate using a ball joint separator. Alternatively (and this has always worked for us) you can whack the upright portion of the tie rod end with a hammer.
5) Using a jack to support the bottom of the suspension strut undo the strut top mounting nuts. The strut can now be safely lowered out of the car. It may be necessary to use your foot to push on the lower control arm to allow the top of the strut to fully clear the wing.
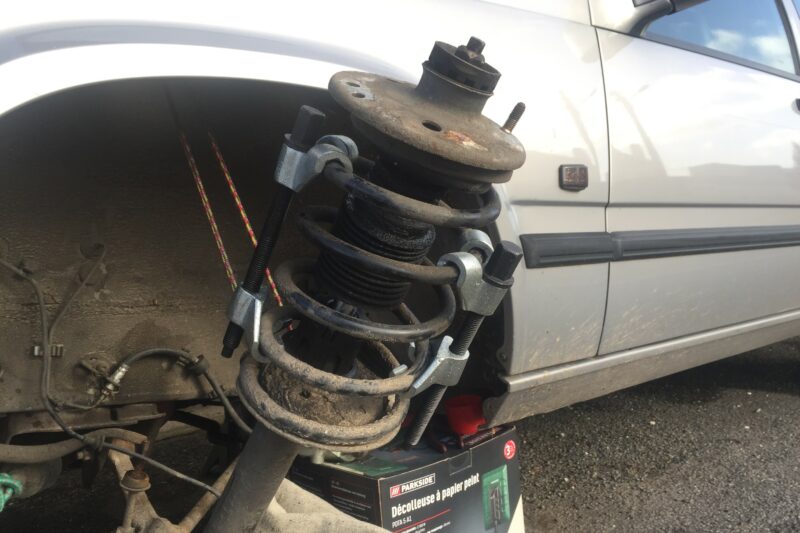
6) With the strut out of the car (but still attached to the lower ball joint) support the assembly and use spring compressors attached directly opposite each other to compress the spring enough so that everything above it becomes loosened.
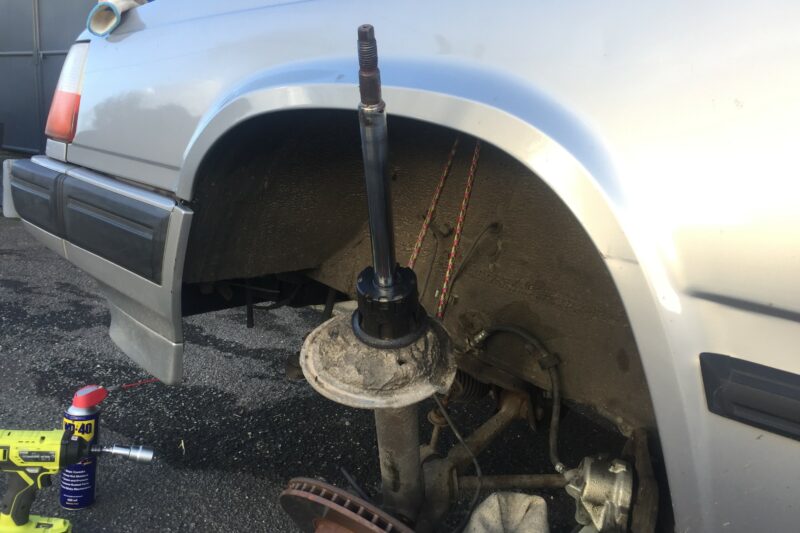
7) Carefully remove the top nut, top mount and any other hardware, inspecting them for damage or wear. Make a note of the order of these various parts to ensure they go back together correctly. The spring can then be liberated, keeping the compressors installed. It’s a good idea to clean up the spring and top mount bearing contact points at this stage.
8) Re-fit your new coil springs (again using the spring compressors but don’t forget to remove them afterwards!), making sure they are properly seated in the spring seats and then simply reverse the above procedure to reinstall the strut and brake assemblies to the car, torquing all of the various fixings to spec.
Conclusion
It would be remiss of us at this juncture not to mention safety precautions when working with coil springs. The spring compressors should be attached on opposite sides of the spring and tightened incrementally in turn. Remember to keep them pointed away from anything you want to remain intact, yourself included – steer clear of walking in front or working over the top of a compressed spring. While you can remove the entire strut assembly should you wish, it isn’t necessary and we find the whole process easier and quicker with the strut still attached via the lower ball joint. With that in mind changing your front springs is a relatively easy job that is achievable with a basic set of tools and the aforementioned spring compressors, so if your suspension is feeling a little tired or you want to lower the car slightly then perhaps it’s time for some fresh bouncers.