How To – Change Your Valve Cover Gasket

December 29, 2023
Difficulty

What Do I Need?
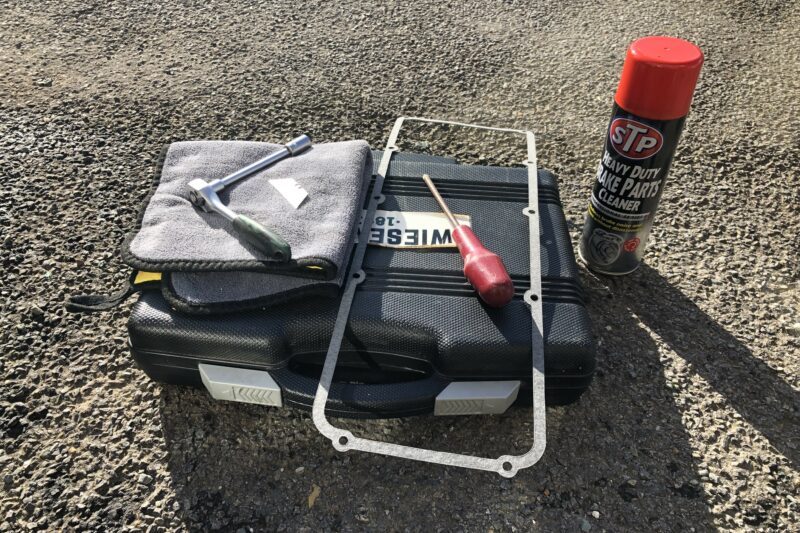
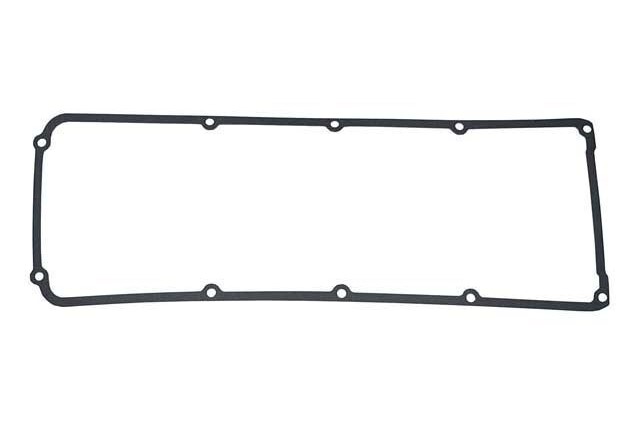
New valve cover gasket specific to your vehicle
Wrench, sockets, spanners or screwdrivers of the correct size
Torque wrench
Brake cleaner and a lint free cloth
Razor blade (optional)
Why Should I?
Nobody likes a dirty engine, fact. It’s all well and good having perfectly polished bodywork and super shiny chrome but if when “popping the hood”, to coin a phrase, you’re faced with a grimy, oily engine bay it can really let the side down. Not only does it look bad but it also makes it difficult to spot any further issues should they arise. It’s hard to carry out a visual inspection when everything is covered in oil and dirt, and a leaking valve cover, or rocker cover (depending on your preferred nomenclature) is a common culprit.
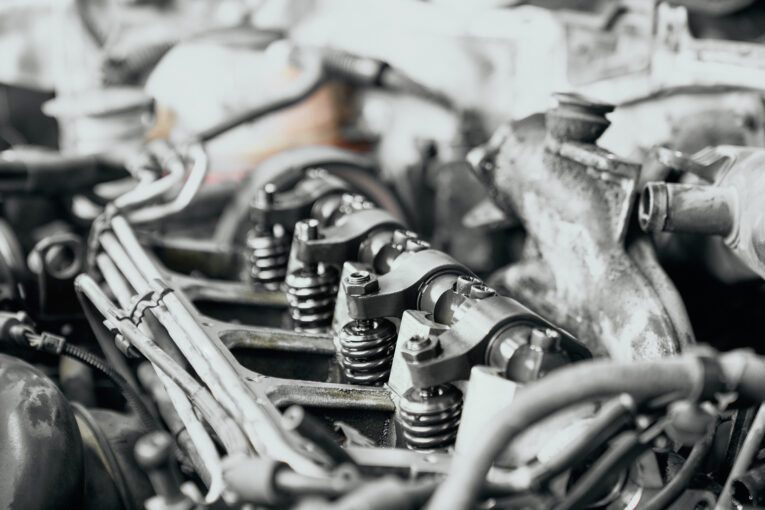
Without sounding like a resident lecturer at the egg sucking university the valve cover, as you have probably worked out, is a cover for your valves and sits atop the cylinder head with a thin gasket betwixt the two. This joint is not under as much pressure as, say, the head gasket and as such it won’t spew oil in all directions when it fails, but it will still leak and over time cover a lot of the engine from the top down in dinosaur juice, which will subsequently pick up dirt and potentially affect its operation if allowed to seep into places where it shouldn’t.
We’ve driven a lot of classic cars, whether it be for professional road tests, test drives prior to purchase or just for the crack, and an alarmingly high percentage of them have suffered from a leaky valve cover gasket. It’s a remarkably common problem and although not a huge deal in the grand scheme of classic car maintenance it’s not ideal. There may be some weight to the old saying “if it’s leaking oil then there’s still oil in it” but a leak is a leak and so we’re here to show you how to fix it.
Talk Me Through It
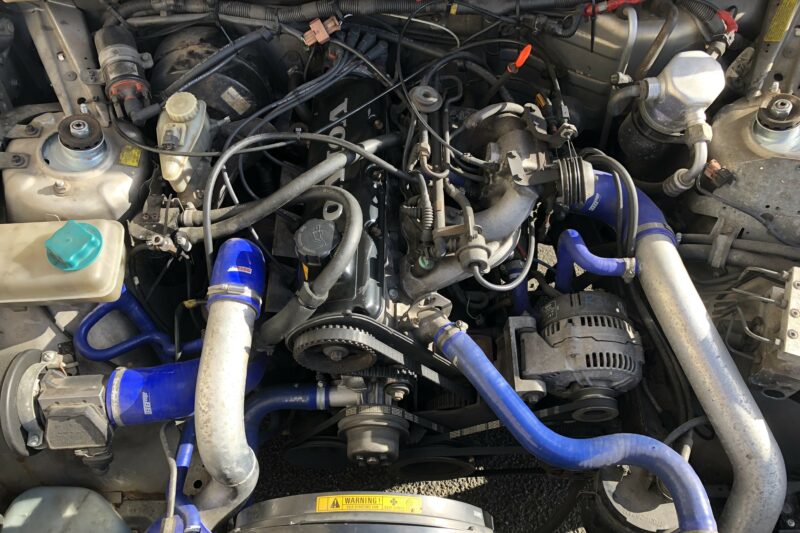
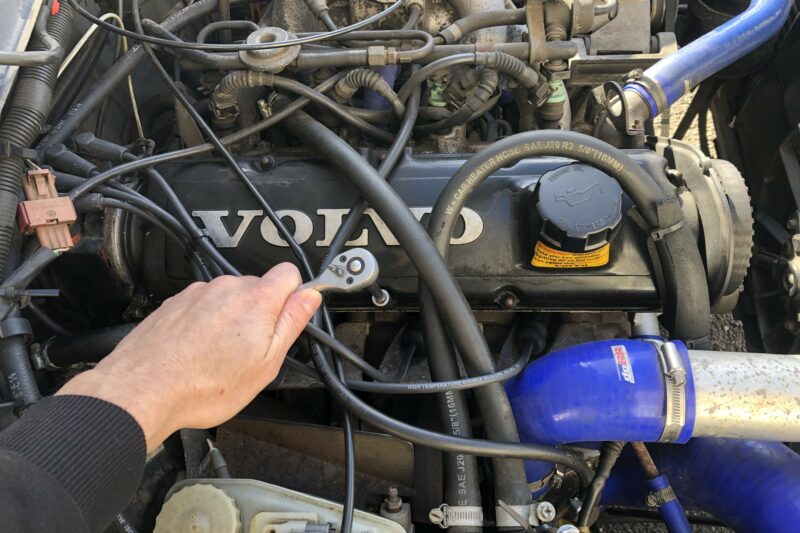
1) With a cold engine locate and remove the fixings holding the valve cover in place. Depending on the vehicle you may have to remove some ancillaries for better access.
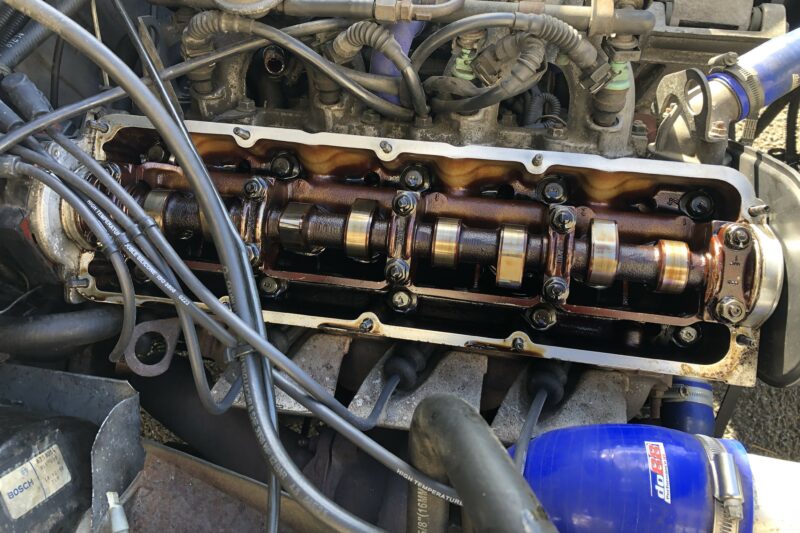
2) With the fixings removed gently lift the valve cover from the cylinder head being sure not to let any detritus drop into the top of the engine. At this point, one of three things will happen: a) best case – the gasket will come away clean from both surfaces, b) the gasket will stick to either surface, or c) worst case – the gasket will stick to both surfaces.
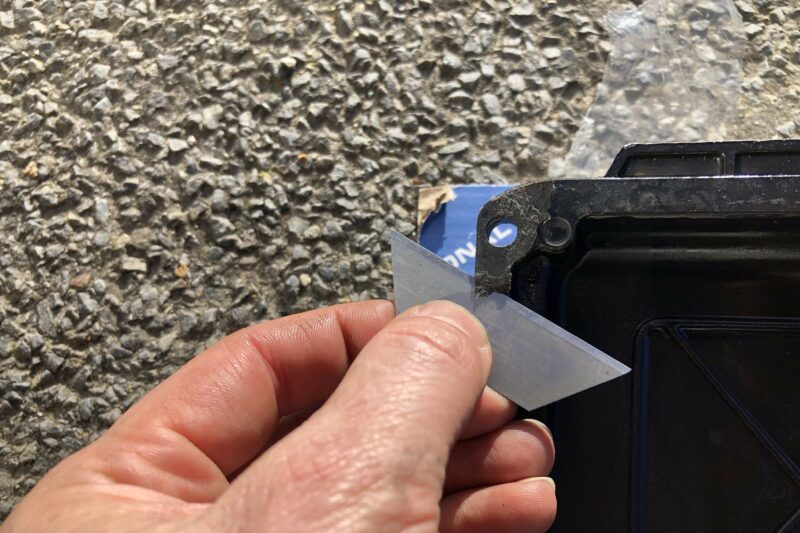
3) Chances are you’re not that lucky and you’ll be dealing with c) but whatever the case it is necessary to remove all traces of the old gasket from both mating surfaces. Use brake cleaner and a lint free cloth to clean everything up. You may have to employ the services of a razor blade for the really stubborn bits but the cleaner you get it the better chance the new gasket will have of sealing properly. Just be careful not to damage the faces.
4) At this point it’s worth giving the whole valve cover a spruce up, whether that means just a clean or a full respray it represents a large part of the visible engine and can go a long way in enhancing the look under the bonnet, as well as allowing you to see any further oil leaks, so spend some time tarting it up.
5) Grab your fresh gasket and lay it in place on top of the cylinder head, or on the valve cover, whichever is easier for your particular setup. No sealant is required here, that’s the whole point of a gasket, but each to their own.
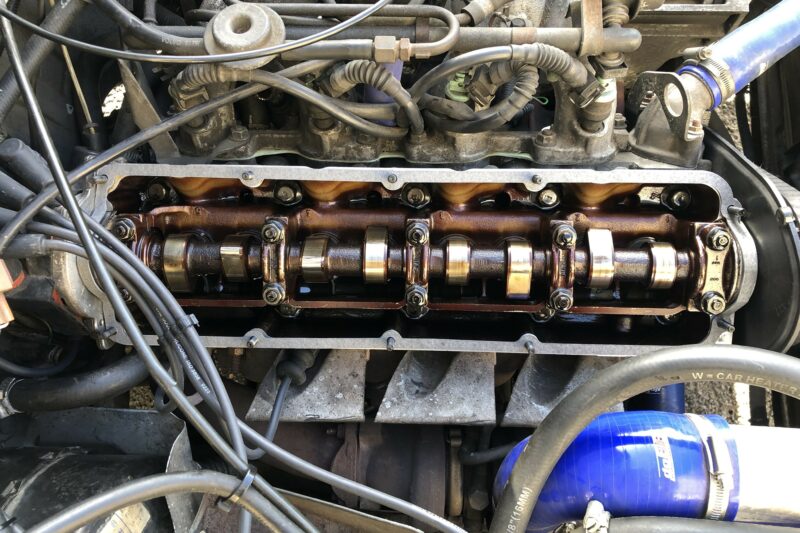
6) Carefully lay your freshly spruced valve cover on top and give it a little shimmy to seat the gasket properly and then re-install the fixings.
7) Torque the fixings to the manufacturer’s recommended settings and then replace any ancillaries that you removed in step 1.
8) Run the engine up to temperature and check for any leaks, re-tightening the valve cover as required.
Conclusion
While not necessarily an urgent, critical task, replacing your valve cover gasket (and cleaning up any grime) can seriously enhance the look of your engine bay. Whatever the engine, oil is supposed to be inside, not outside and so ensuring your valve cover gasket is doing its job will save you future headaches. Achievable with the simplest of tools it’s a simple task that almost anyone can accomplish and may just inspire you to give the engine bay that detail you’ve been putting off for months. A clean engine is a happy engine and it will allow you to more easily discover the next problem that needs your attention. Hey, we never said owning a classic would be easy but at least it gives you an excuse to get away from all of the Christmas nonsense for an hour or two…