How To – Repair Your Exhaust

February 27, 2023

Difficulty
What Do I Need?

Exhaust assembly paste, like this Holts Firegum, is essential for a successful exhaust repair.
Any new sections of exhaust required
New exhaust clamps
Exhaust paste
Wrenches, sockets and spanners of the correct size
Release fluid
Wire brush
Angle grinder or similar cutting device (optional)
Why Should I?
Because unless you have a lovely stainless system on your classic then the exhaust will rust and eventually need to be repaired or replaced. Most classic cars will be fitted with a mild steel setup and whilst they are inexpensive, generally speaking, they are incredibly susceptible to corrosion as they are constantly exposed to the elements, as well as all of that horrible road grime, being as they are strapped to the underside of the vehicle. A leaking exhaust will not only cause harmful gases to not be properly directed to the rear of the car where they belong but will also negatively effect performance and could potentially damage your engine as the heat generated is not effectively dissipated. Not to mention your car will sound like a bag of spanners to boot. Not cool.
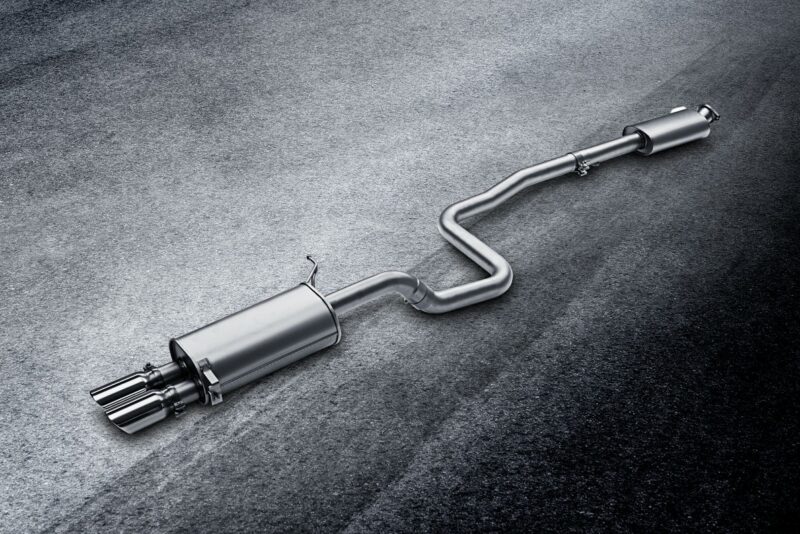
Essentially just a pipe, an exhaust system is pretty simple in the grand scheme of things which makes it incredibly easy to work on and repair (unless you’re trying to remove manifolds from an RB26DETT. Ask us how we know). With just a few simple tools you can successfully repair or replace sections of your own exhaust to ensure that your pride and joy is operating optimally so we’ve put together this handy guide to show you how.
Talk Me Through It
NB: This particular guide is for replacing a simple sleeved section of exhaust whereby one end of the pipe slides inside another.
1) Jack up the car safely and rest it on some axle stands to allow access to the particular section of exhaust you are working on.
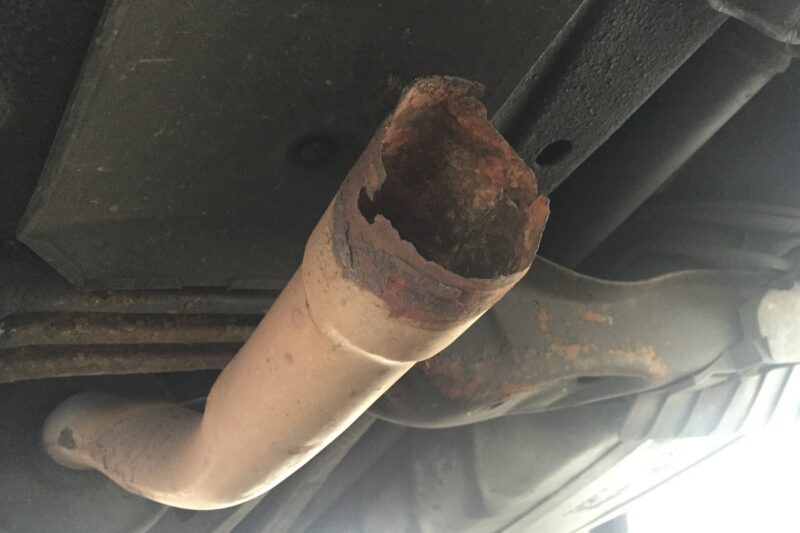
2) Remove any clamps and/or hangers that are securing the old section of exhaust in place. If you’re lucky you’ll be able to undo the metal clamps with release fluid and spanners but chances are you’ll have to cut them off.
3) Remove the offending exhaust section. Depending on the condition of the remaining pipe you may have to cut it down to remove any severe corrosion, just make sure to leave enough so that an effective seal can still be made.
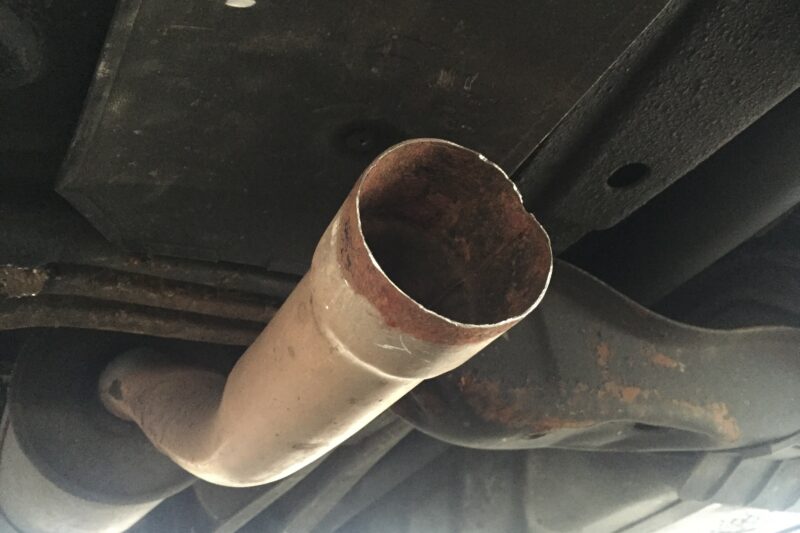
4) Using a wire brush clean up both the new and remaining edges of pipe leaving a clean surface free from debris and loosely install a new clamp in preparation for the new section of exhaust.
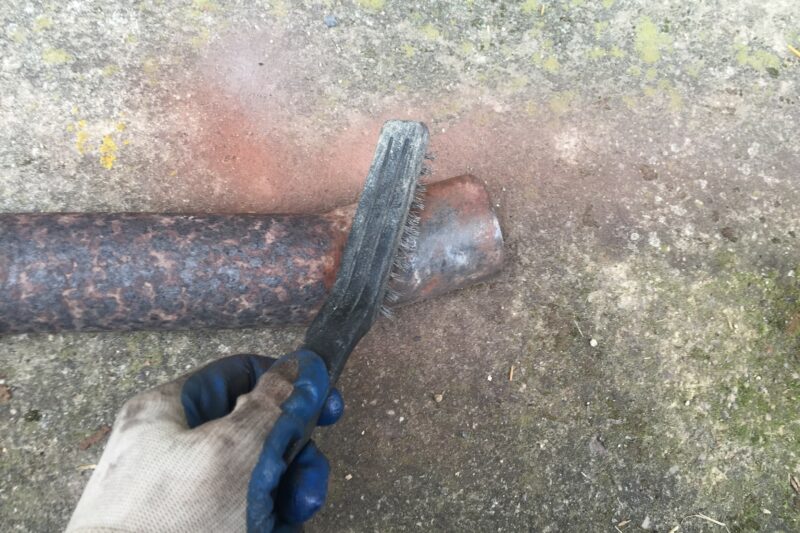

We used a simple U-clamp for this particular installation.
5) Liberally apply some exhaust paste to both sections of pipe on the inside and outside edge, depending on which way they fit inside of each other.
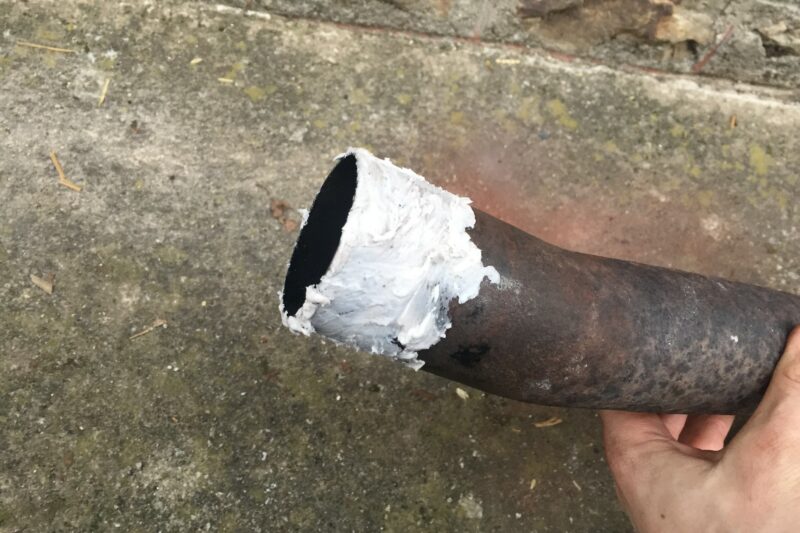
6) Fit the new section of pipe to the exhaust system using the exhaust paste as a lubricant to aid installation.
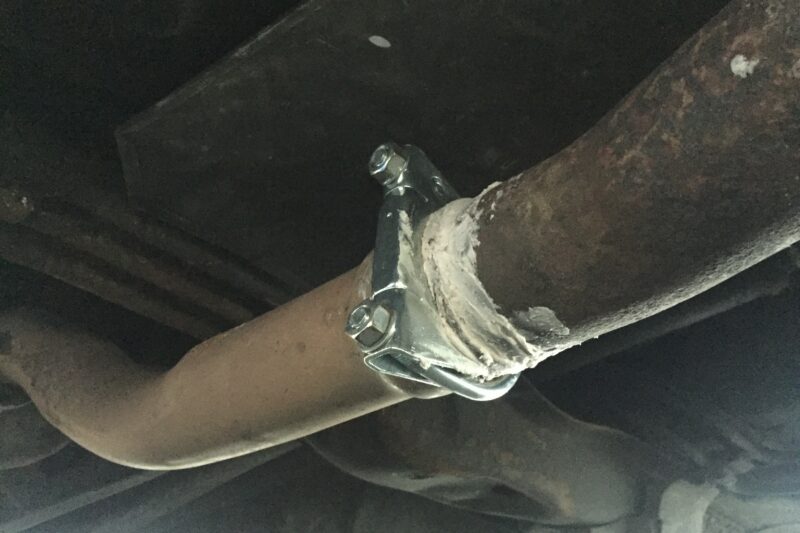
7) Once correctly in position tighten the clamp around the new join and re-install any hangers if necessary.
8) After the exhaust paste has hardened run the engine and check for any leaks.
Conclusion
A leaking exhaust is not only potentially dangerous to your car but more importantly your own health so if your car sounds a bit different, perhaps a little louder than normal, then have a check of your system, it just may need some repair work. The good news is it needn’t be exhausting (sorry, we couldn’t resist) as it’s a simple and affordable DIY job in most cases, and aren’t those the best kind? Of course this is just one way to do it and there are differences depending on the vehicle; joins can be flanged, catalytic converters may be involved or welding may be a better option, for instance. The principle remains the same, however – joining two sections of metal pipe together – and it shouldn’t be a barrier to getting involved and having a go yourself.