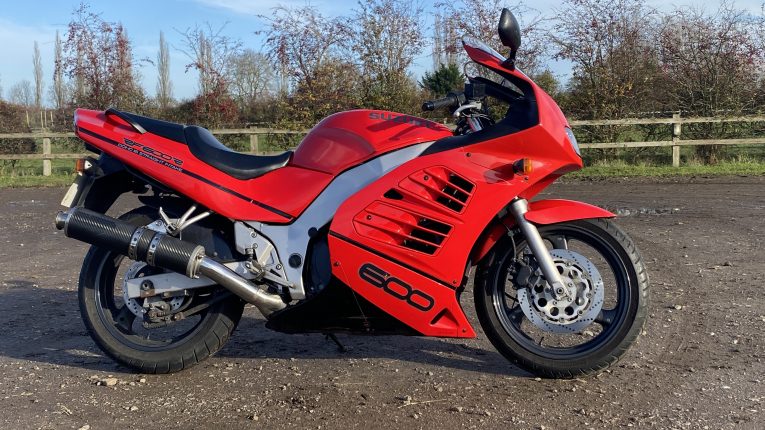
1997 Suzuki RF600R – Chassis Come Home

March 29, 2021
Something else that had become clear on the RF600R, particularly when moving it, was the slack nature of the front suspension. The rear seemed to behave as expected; a bounce and settling almost immediately but the front… something just wasn’t right.
Compressing the forks, there was an initial movement with no resistance, followed by what appeared to be damping but not to the extent I would have expected. With this in mind and knowing, like the brake fluid, that the oil in the forks was probably the original, I decided to give the suspension a good check over and change the fork oil.
It’s worth noting that the rear monoshock isn’t practically rebuildable – some say they can but others recommend either a replacement from within the Suzuki family (apparently a GSX-R750 unit fits) or an aftermarket replacement. In any case, it certainly isn’t something I could do but I could check the general condition of the rear end.
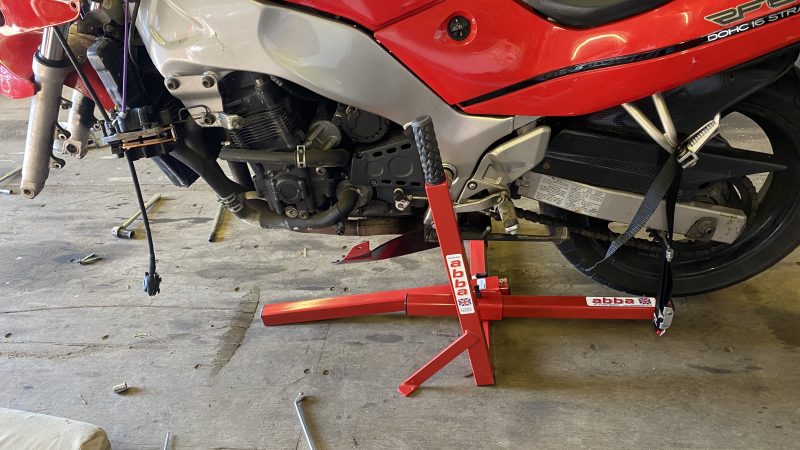
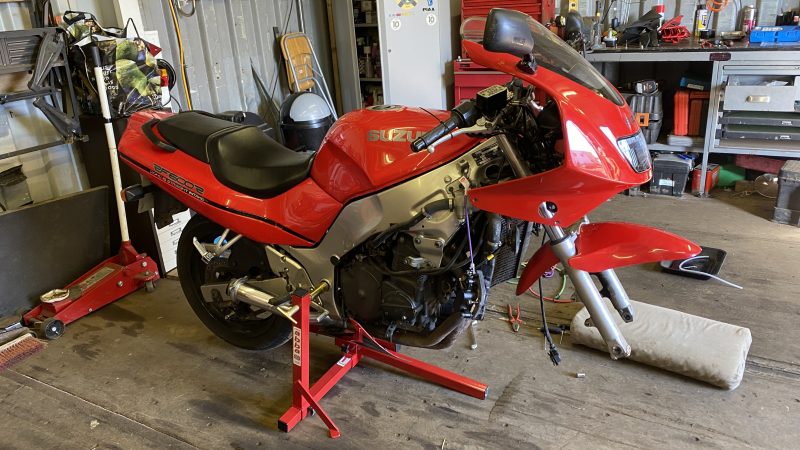
The first thing is to check for play in the shock bearings and mountings. This is a relatively straightforward process but does need the rear wheel off the ground. The bike had come with a generic paddock stand but as I knew I was going to have to get the front wheel off the ground and the suspension off, I invested in an Abba Superbike Stand with Front-end lift kit. This is a kind of centre stand for bikes that either don’t or can’t use them and lifts the bike off the ground vertically. The front wheel rests on the ground, due to the weight balance from lifting on the rear swingarm mounts, with the rear wheel off the ground.
The first check was for suspension mountings and this involved grabbing the ends of the swingarm and lifting them up and down to feel for play in the mounts. There was none, indicating that the 20,000-odd miles the bike had covered had been relatively kind. Next was the swingarm mounts, again checked by moving the ends of the swingarm but this time, from side to side as well as a twisting motion, to check the integrity of the mounts. These also appeared to have no play in them at all.
Finally at the back of the bike, the rear-wheel bearings. Just like a car, this involves holding the wheel at the top and bottom and rocking it back and forth to feel for movement. You repeat that holding the wheel at the front and the back and in both planes, there was also no movement apparent. Which was nice…
Moving to the front of the bike, it was time to check for play here to. There are two areas to check: the steering-head bearings and the fork bushes. The former is checked by lifting the front wheel off the ground and pulling it forwards and backwards, in line with the bike. Any play in the steering-head bearings would be felt but like the rear, there was none.
The last check was the bushes in each of the fork legs. There are two metal bushes in each and to check for play, the front wheel is removed and the bottom of each fork leg is moved back and forth and side to side and any play will be apparent as movement. Again, there was none, indicating the mechanical elements were in great shape.
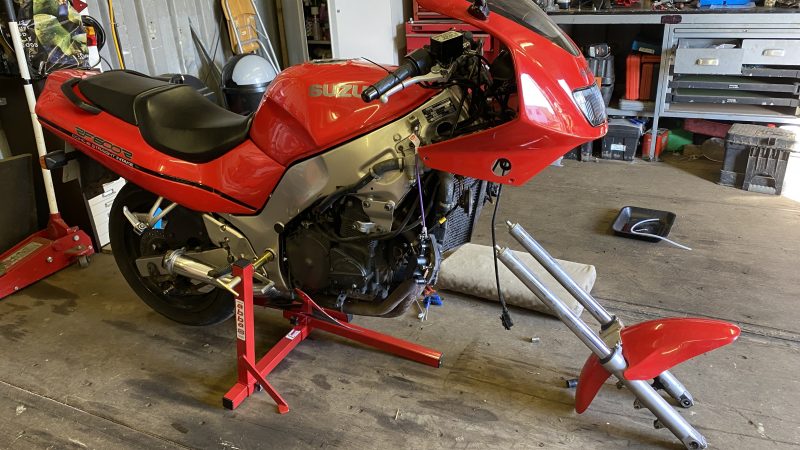
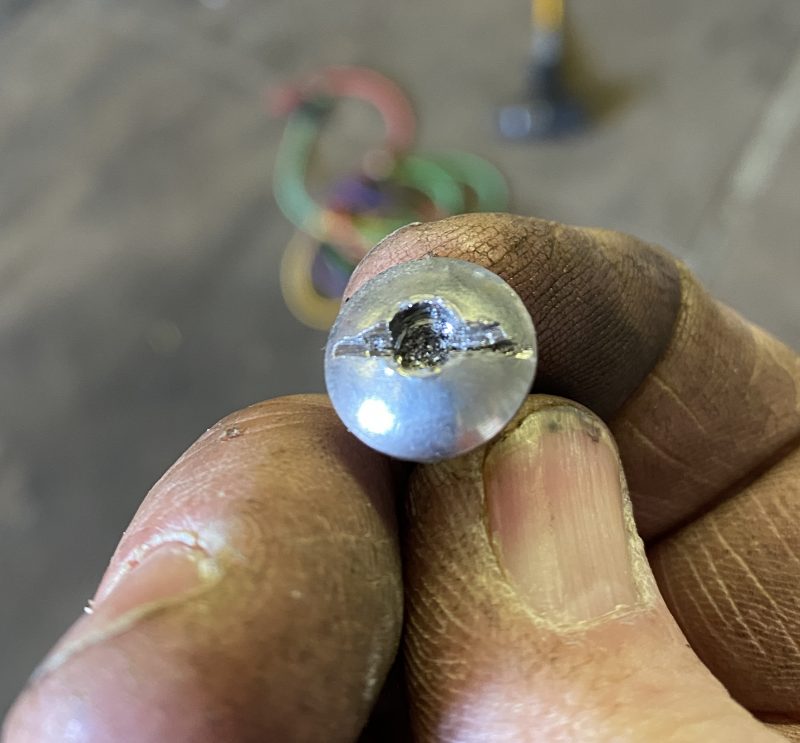
Having stripped pretty much all of the front of the bike to remove the forks, six clamp bolts and the legs dropped out, with the mudguard mount/fork brace intact. Like several other fasteners, the bolts were a mess and the impact driver once again saved the day, with two of the bolts replaced with new ones.
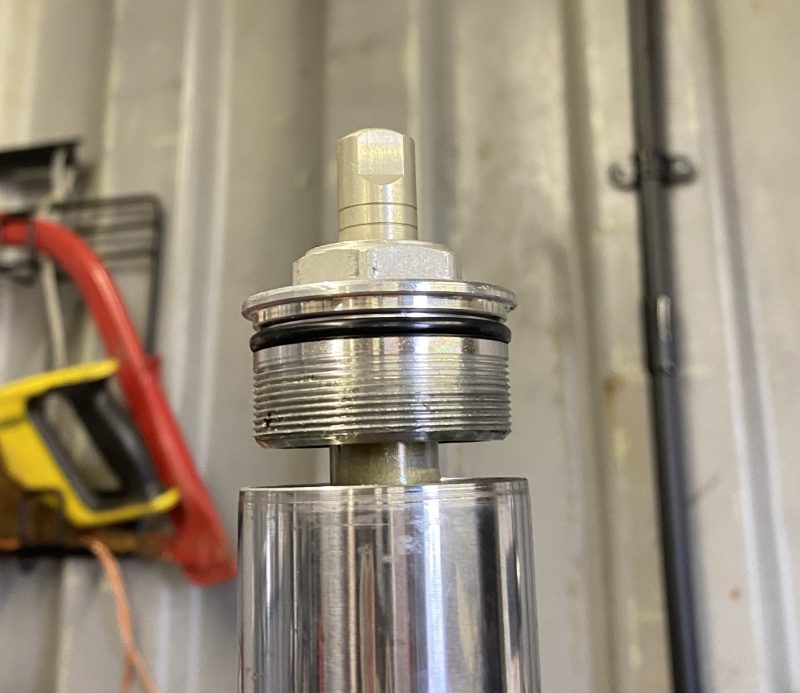
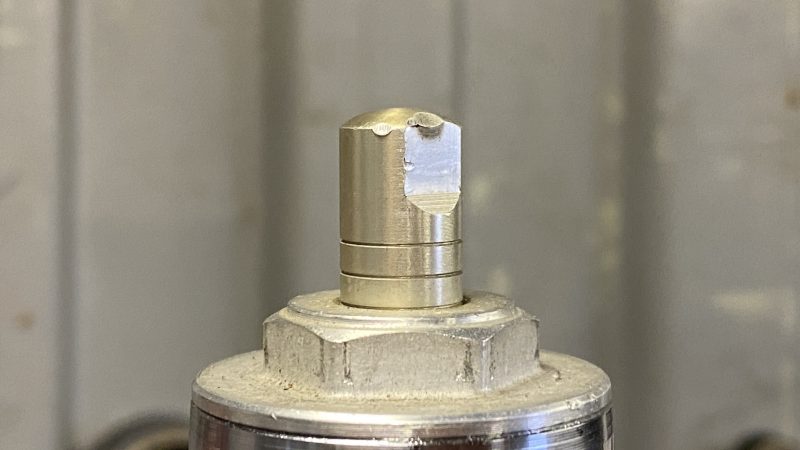
I’d loosened the fork caps before removing them from the bike – it’s much easier when the legs are still mounted in the top and bottom yokes – and once off the bike, mounted each in the vice using the brake caliper mounts and carefully removed the cap. The same procedure is used on both, as they are effectively identical and both need doing.
Pressure was needed when removing the fork caps, as the adjuster in each cap adjusts the spring pre-load, so there is always some force pushing up on the caps.
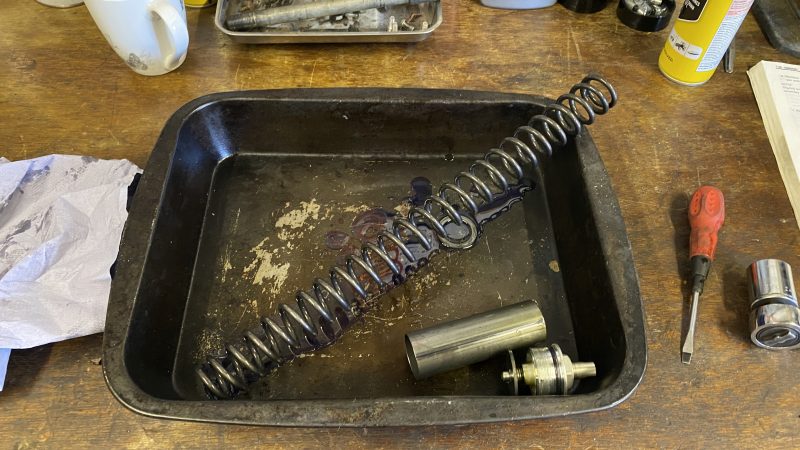
With the cap off, I compressed the fork a little and removed the tube and shim that sat above the spring, as well as the spring itself. It was now that I got the first taste – literally – of the condition of the existing oil. I upturned each fork over a drain tray and compressed and extended the legs to get as much oil out as possible and it was revolting – black and smelly and carrying lots of sediment in suspension (no pun intended).
As the metal bushes were in good shape and the fork oil seals didn’t appear to be leaking (there was no oil present after bouncing the front up and down), I left the bottom of the forks intact and set about replacing the oil. This in itself isn’t a huge issue but getting the right amount in each leg is crucial.
The workshop manual states 503ml of 10W fork oil. The damping on the front of the RF isn’t adjustable so if that isn’t right, some owners suggest using a heavier oil to increase the damping, though others suggest a bit more of the same weight. But to start with, I was going with the manufacturers settings, so I added the 503ml of oil from a measuring jug and compressed the leg several times to make sure that the oil found its way into the lower section of the leg, past the damping valve.
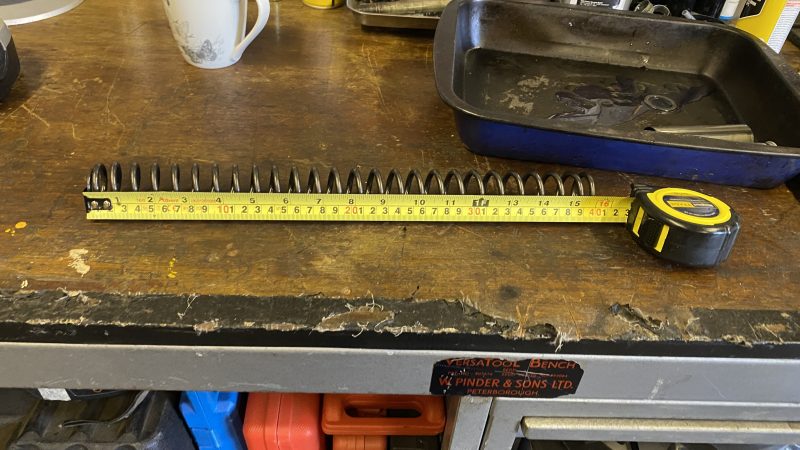
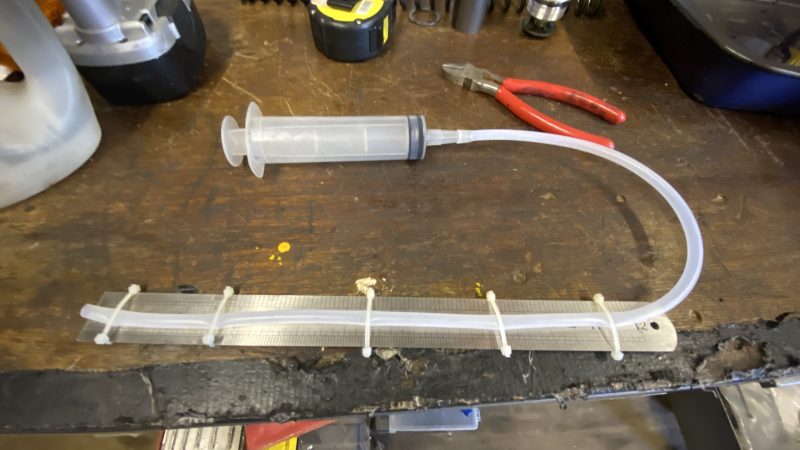
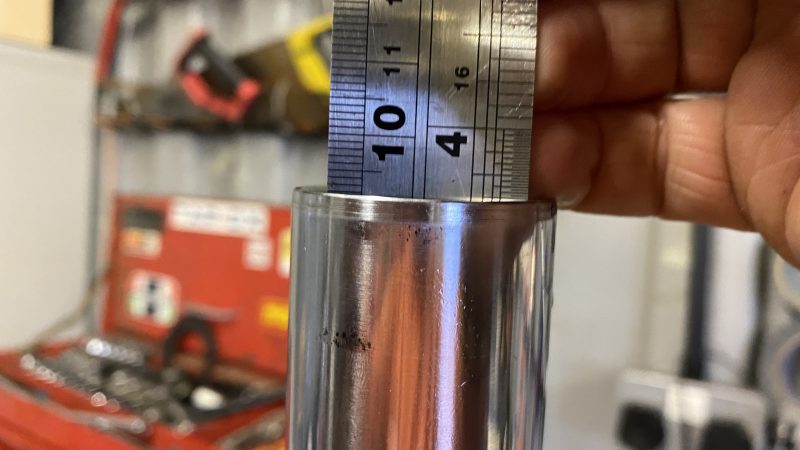
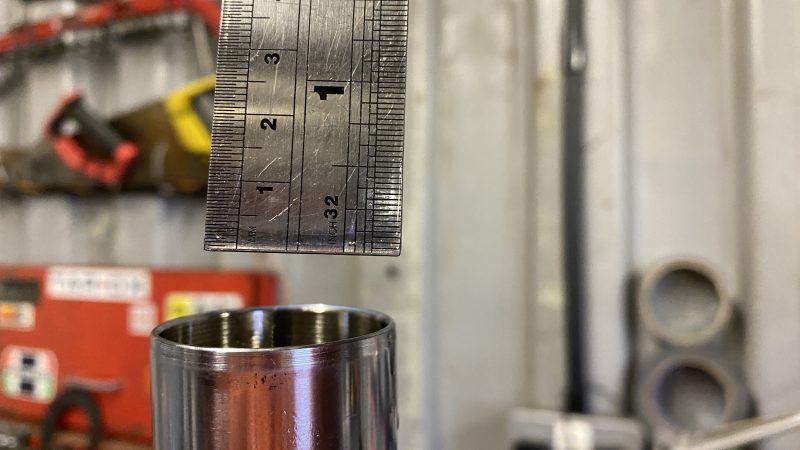
Getting the right amount of oil is more about the air gap at the top of the oil within the leg than the outright volume and once I’d added the specified amount, it was clear that was an over-exaggeration. I fabricated a level-adjusting tool from some tubing and a steel rule and set it to the specified 92mm of air gap, removing fluid through the tube with a syringe until the level was correct with the fork-tube compressed as far as it would go. I then double-checked it with another steel rule to make sure. Once I was sure the level was correct, I could replace the spring, having measured it to make sure it was the correct specified free length – the spring for both sides was perfect.
With the right amount of oil in each, it was time to replace the spring, shim and tube and then, the fork caps having checked the adjusters moved freely. Once it was all back together, I made sure the preload adjuster on each side was set at the third line – this is the factory setting – and re-fitted the forks.
With the suspension now pretty much ready to go, it should be just a case of some new tyres (the selection process is ongoing) then we should be ready for the first run, to the MoT station…
I’m starting to get excited now…