How To – Change Your Oil and Filter

March 23, 2022
Difficulty

What Do I Need?
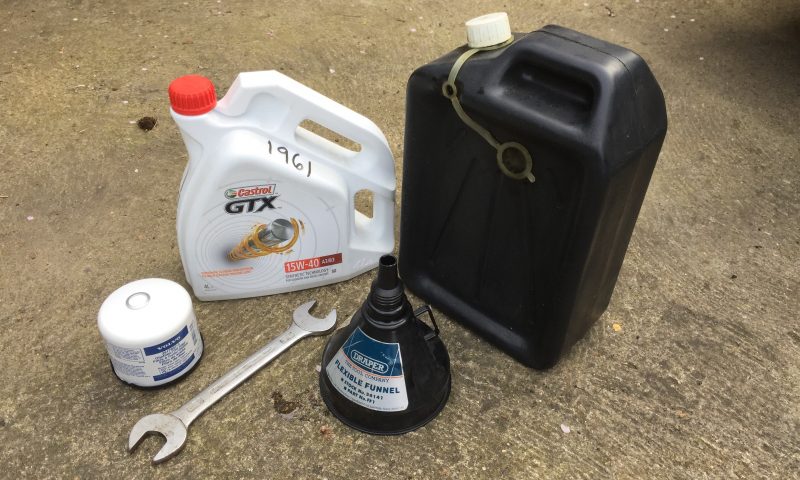
Replacement oil filter and sump plug washer (if applicable)
Fresh oil of the correct grade and quantity for your vehicle
Oil pan
Funnel
Spanner or socket of the correct size for the sump plug
Oil filter wrench (optional)
Why Should I?
Changing the engine oil regularly is one of the best things you can do for your classic. It’s as simple as that. There are myriad moving parts in an internal combustion engine and the chief role of the oil is to keep these parts lubricated. Good lubrication means less friction and less friction means less wear and tear. Oil degrades over time and coupled with any leaking seals (we are talking about classics here) means that if this most basic of maintenance tasks is neglected then you’re going to be in for a world of trouble. And expensive trouble at that. So, keeping your engine topped up with fresh dinosaur juice is vital to its correct and efficient operation.

Generally speaking anywhere between 3,000 and 5,000 miles is a good interval for changes but this will somewhat depend on your specific vehicle and how you use it. The service manual will detail the exact requirements as well as the type and quantity of lubricant to use. Failing that ask a knowledgeable friend or jump online and have a look at any relevant forums or clubs for information.
Talk Me Through It
1) Turn on the engine and let it come up to temperature. This will make the oil less viscous and as such will be easier to drain.
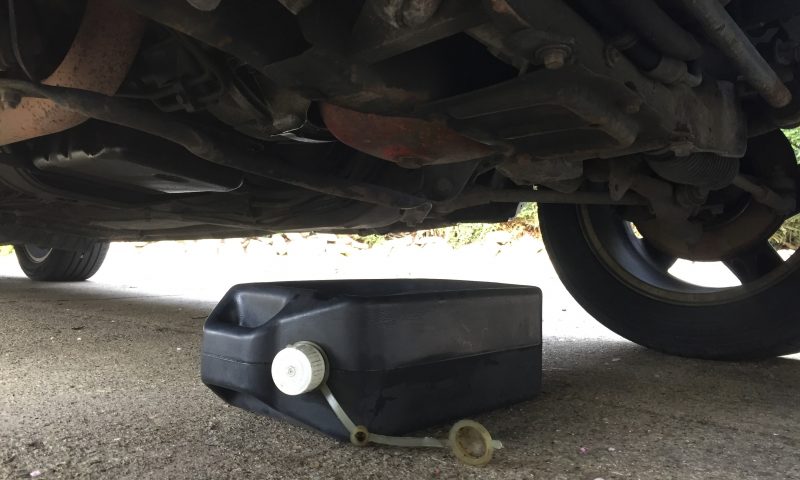
2) Jack up the vehicle and get it on some axle stands or ramps to allow access from below and then locate the drain plug on the oil pan. Chuck your pan (or similar receptacle) underneath.
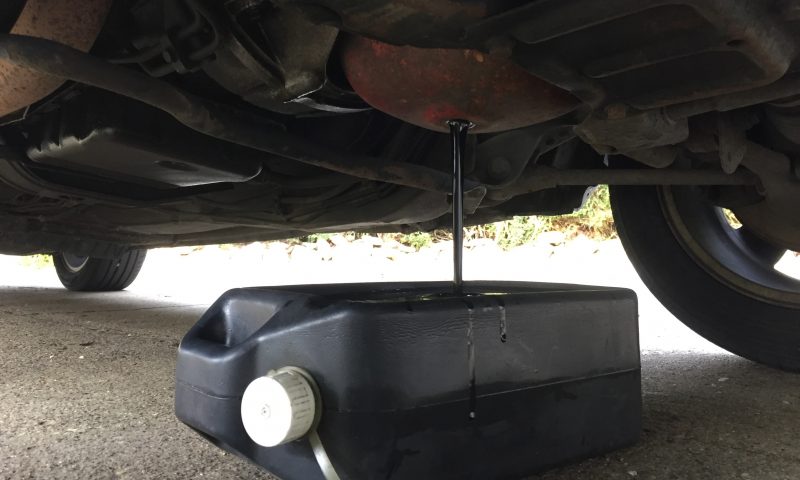
3) Using the correct size socket or spanner crack the drain plug loose and carefully remove it to allow the oil to flow from the engine. The trick here is to try and remove the plug without getting any oil on your hand. It’s harder than you think. And definitely don’t drop it in the pan.
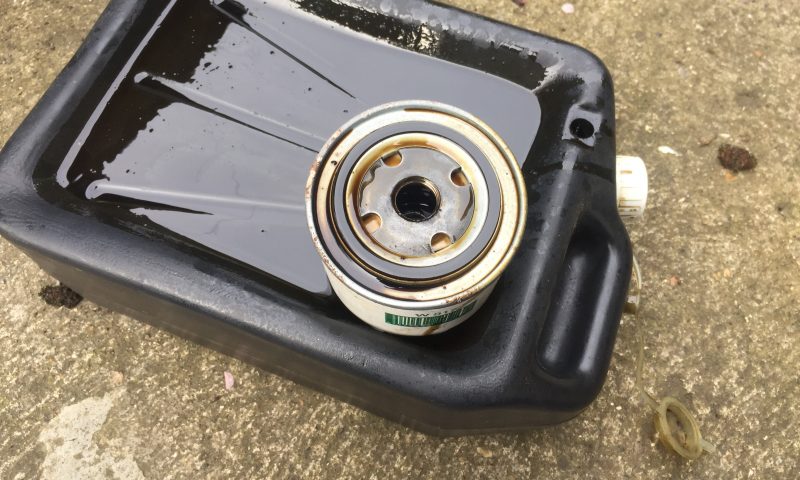
4) Locate the oil filter. Unscrew it and discard, being aware that it will have remnants of the old oil inside. If you can’t get it to turn then you can use a specific oil filter wrench. Failing that, as a last resort, you can jam a screwdriver through the body of the filter and use that for leverage. Be sure to remove any rubber O-rings that may be installed between the filter and the housing too.
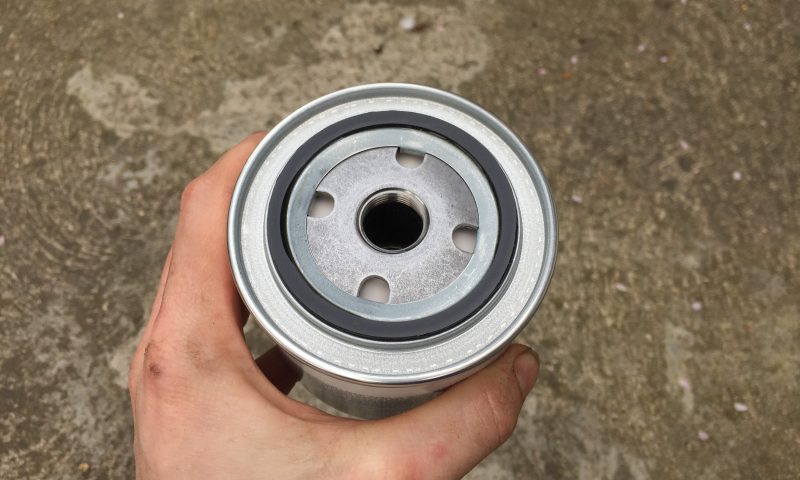
5) By this point most of the oil should have drained from the engine so go ahead and replace the sump plug, making sure to install a new crush washer if applicable and torque to the correct specs. Install your new filter too after smearing some fresh oil around the rubber gasket but don’t crank it down. You don’t need to go full send here, hand tight is fine.
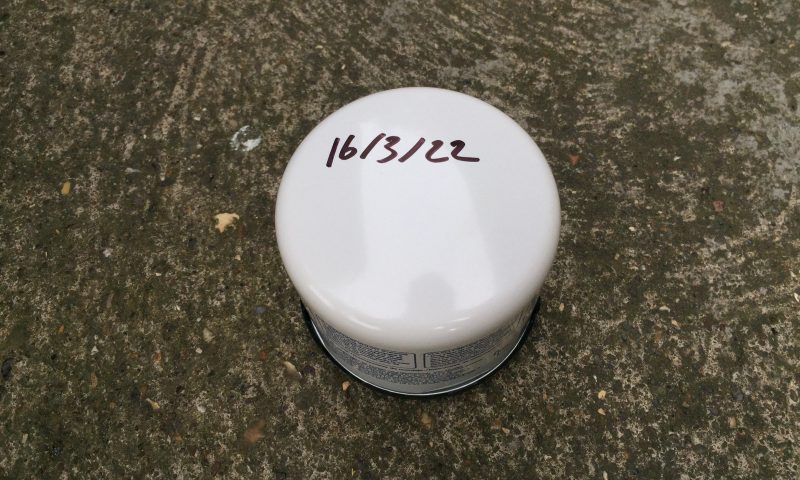
Top tip: get a marker pen and write the date on it so whoever’s next will be in the know.
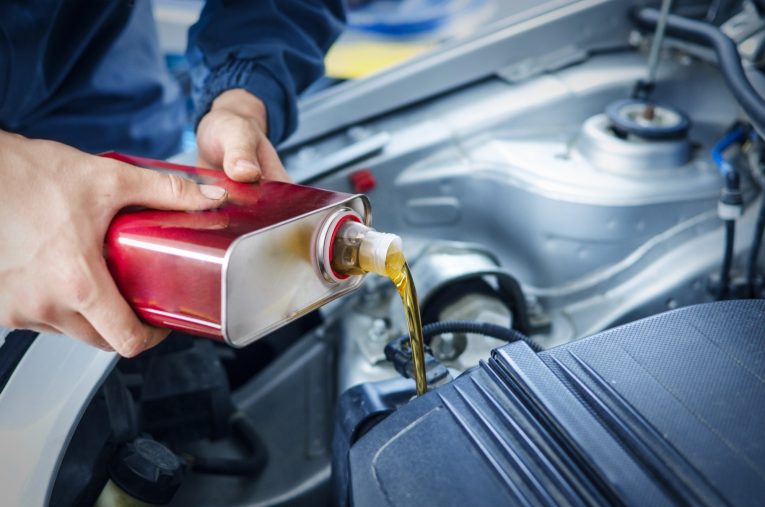
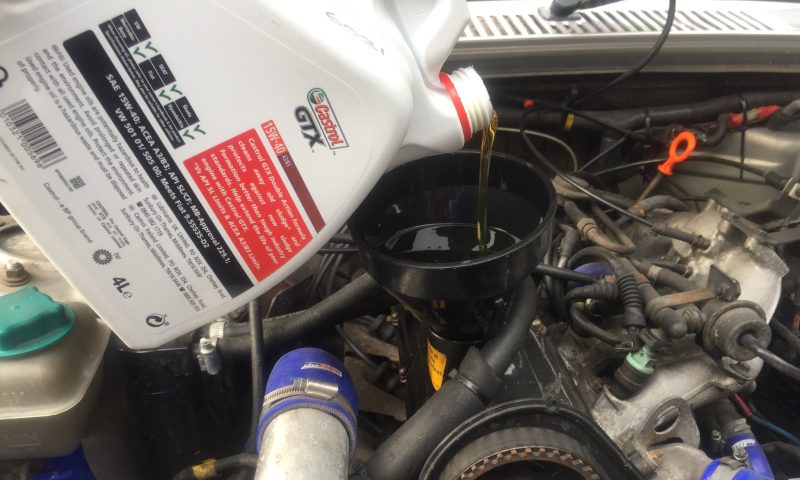
6) Make your way to the engine, undo the oil filler cap, stick in your funnel and fill the engine with that fresh amber nectar. Most oil containers have a level indicator on them so you can tell how much is going in but go slow and steady until the desired level is reached on the oil dipstick. It’s easier to put more in than to try and take it out!
7) Have another look underneath at the areas around the sump plug and new filter to make sure there are no leaks and then replace the oil filler cap and put the vehicle back on the ground.
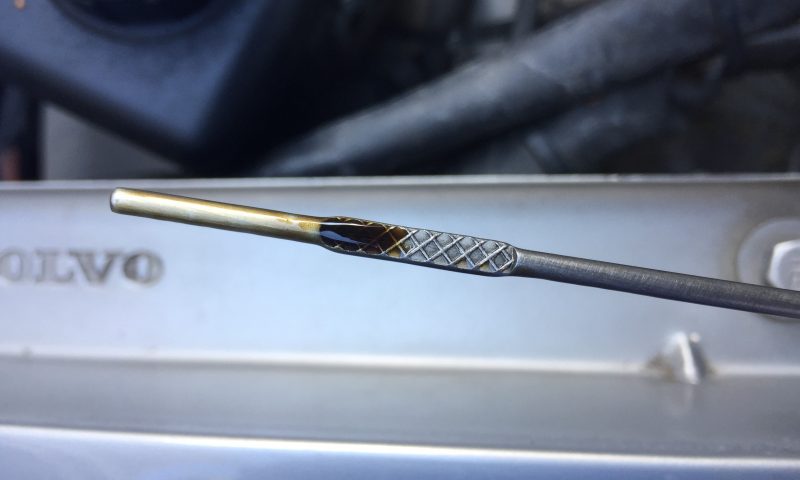
8) Check the level again and monitor over the next few miles using the dipstick, topping up as necessary and checking for any leaks in the process.
Conclusion
And that’s it. A simple task that will keep your engine operating at its best and give you the peace of mind that comes with it. There really is no need to pay a garage for this type of maintenance and with just some basic equipment you’ll never have to again. Just be sure to correctly dispose of any used engine oil at your local household waste or recycling centre.