How To – Change Your Suspension Dampers

December 28, 2022
Difficulty

What Do I Need?
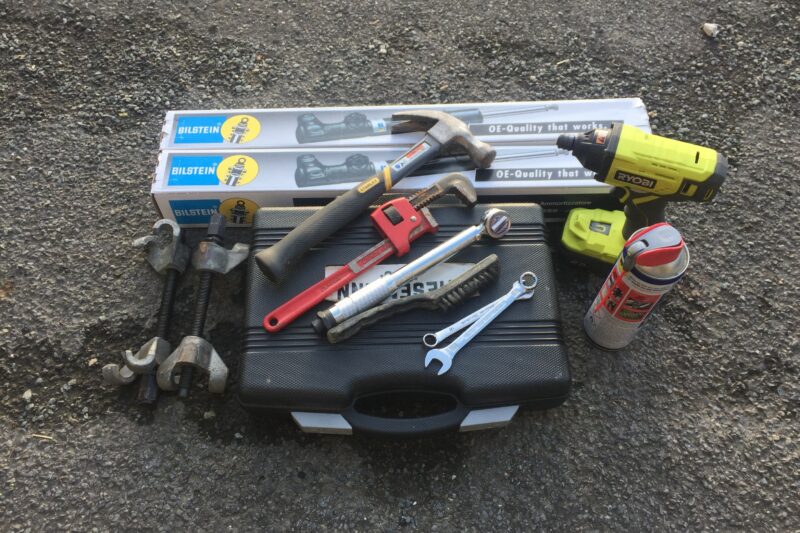
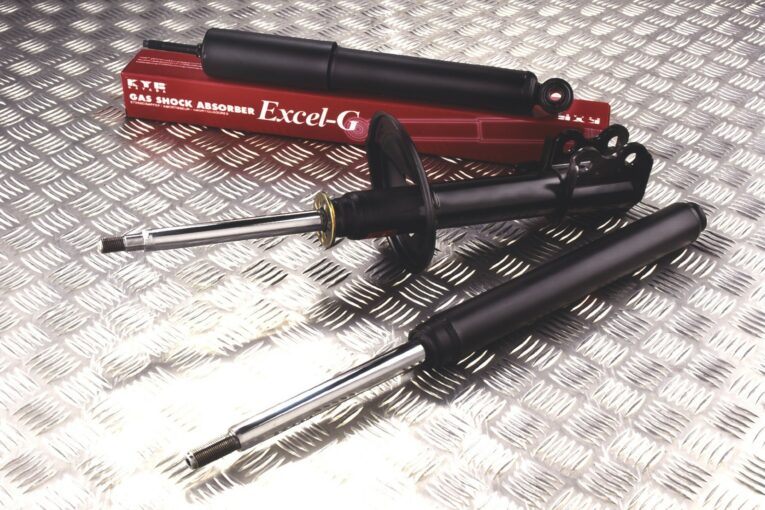
New dampers specific to your vehicle
Coil spring compressors
Wrenches, sockets and spanners of the correct size
Ball joint separator or hammer
Pipe wrench or C-spanner
Torque wrench
Release fluid
Impact driver (optional)
Wire brush (optional)
Bungee cords (optional)
Why Should I?
Dampers fail. Ask us how we know. The dampers in a car’s suspension system are responsible for, you guessed it, damping. But what does that actually mean out on the road? Well, if your suspension merely consisted of a spring the ride would be incredibly bouncy to say the least. The function of the spring is to absorb the bumps in the road while the damper controls the spring’s energy, forcing it to return to its resting position quickly, therefore eliminating that bounce. Essentially, when the damper is compressed a rod attached to a piston pushes into oil within, generating resistance against the ‘bouncing’ of the spring thus controlling, or damping, the movement.
A reliable experiment to ascertain the condition of your dampers is the ‘bounce test’. Simply push down on each corner of the car in turn paying attention to how quickly it returns to its nominal resting position. It should be instant. If the car continues to bounce then your dampers aren’t functioning optimally. A visual inspection will also uncover any issues with leaking, rusty or damaged dampers.
Talk Me Through It
NB: This tutorial is for cars with MacPherson-strut suspension
1) Loosen the wheel nuts and then jack up the car safely and rest it on some axle stands. Remove the wheel.
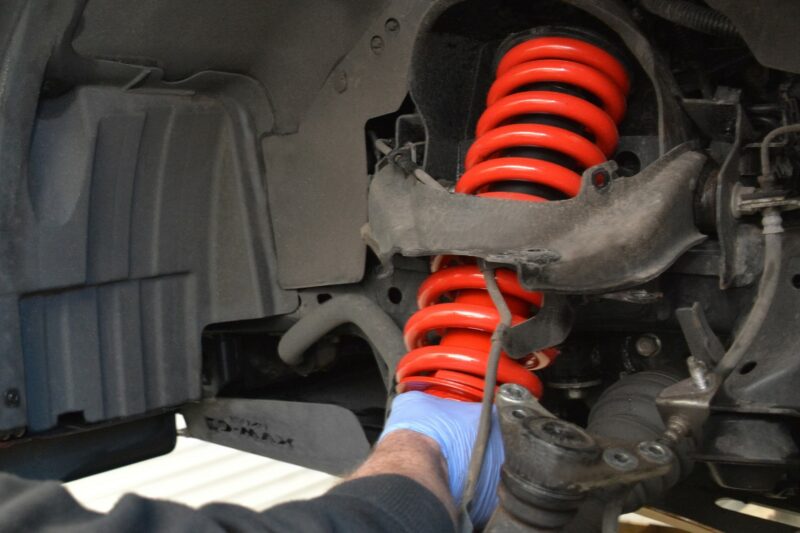
2) Follow the instructions for removing your coil spring here.
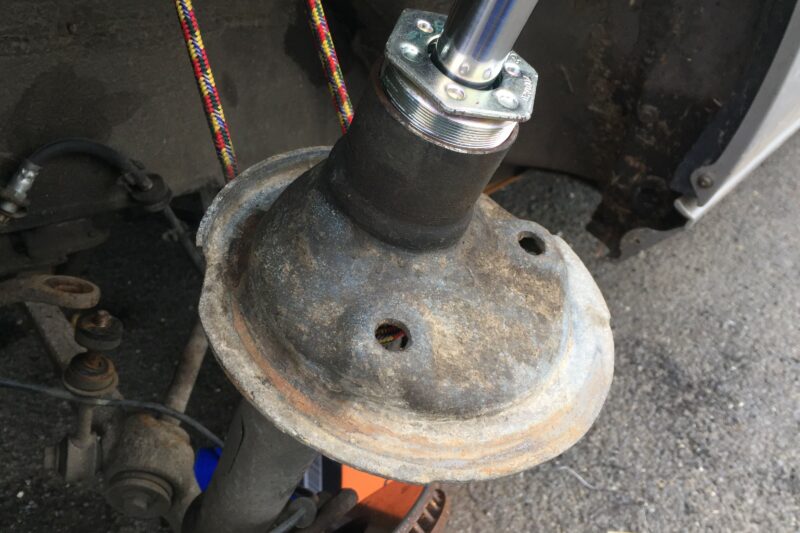
3) Remove all other hardware such as the rubber boot and inspect for damage or wear.
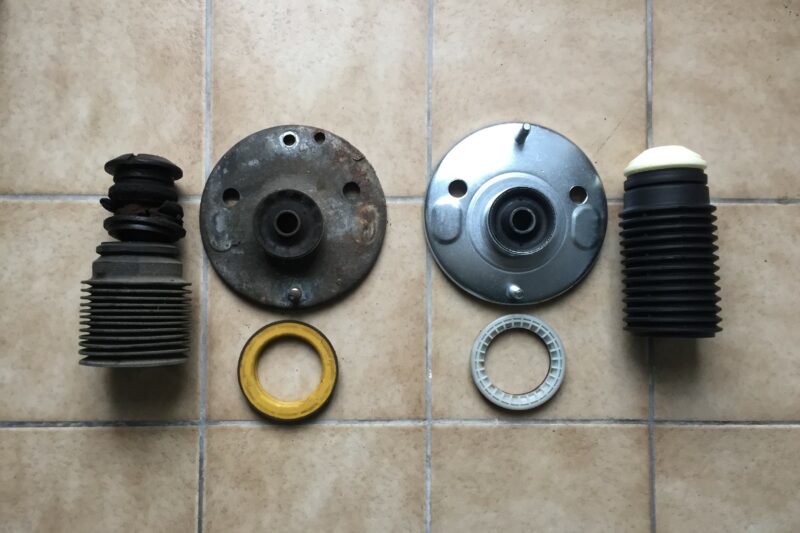
It may be pertinent to replace any worn or damaged hardware along with your dampers
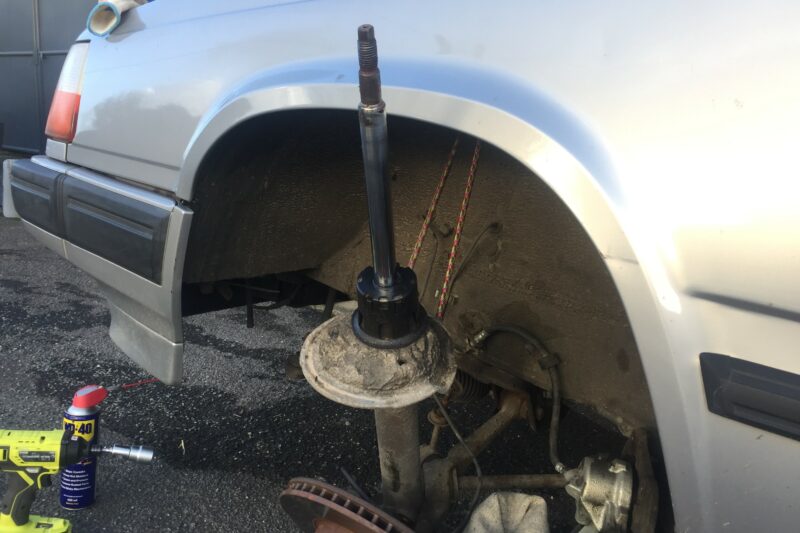
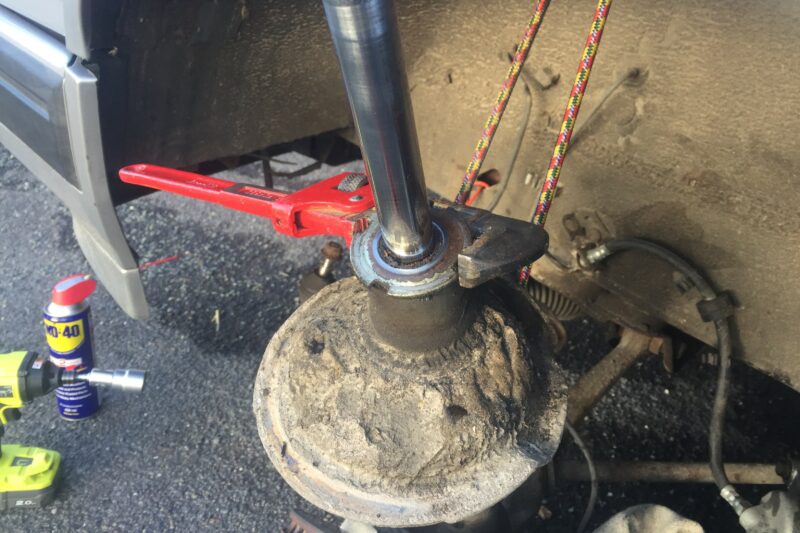
4) Using a C-spanner or pipe wrench undo the large nut that fixes the suspension damper into the strut. If you prefer to do this in a vice on a bench then you will need to remove the entire strut by undoing the lower ball joint and removing the entire assemble from the car.
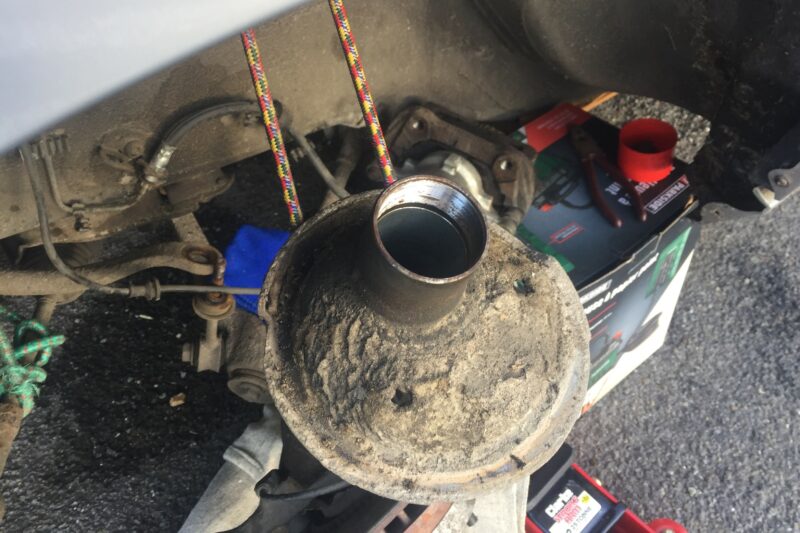
5) Remove the damper and gland nut from the strut and clean up any surfaces as required before inserting the new damper and nut in its place.
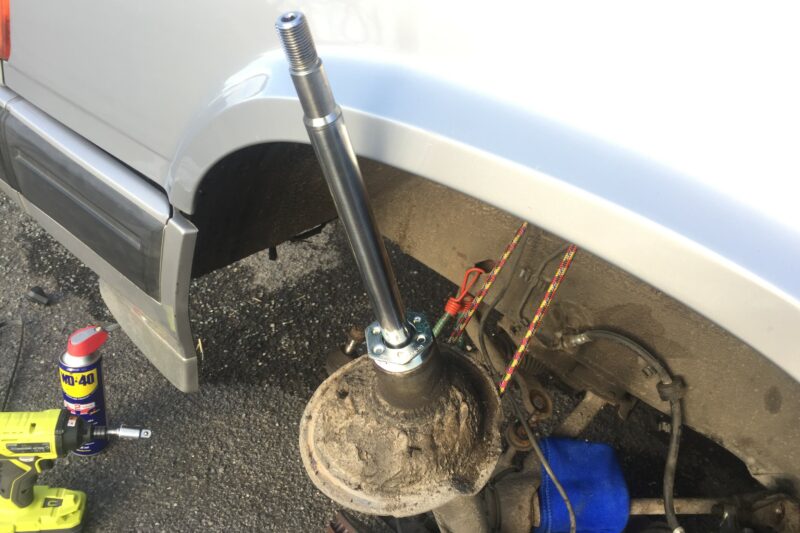
6) Using the C-spanner or pipe wrench again tighten the damper gland nut, securing the damper in the strut taking care not to damage the damper.
7) Re-install the boot, coil spring, top mount and nut, along with any other hardware that was removed in steps 2 and 3, torquing all fixings to spec.
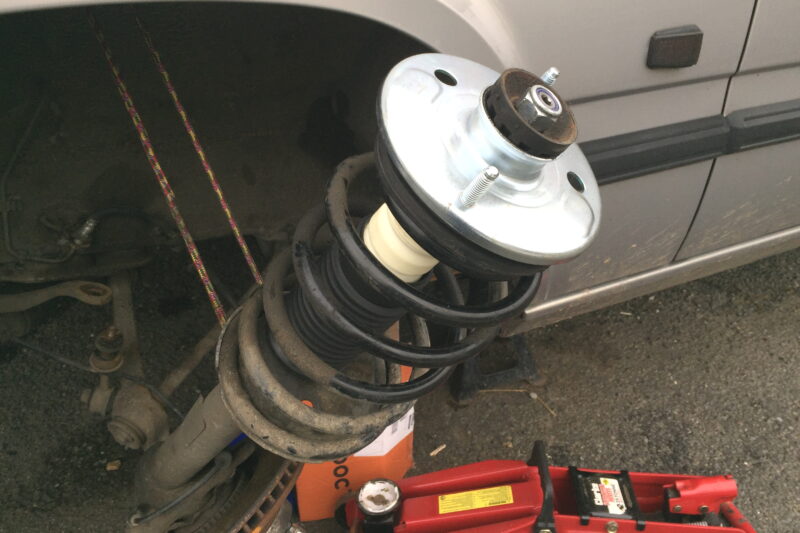
8) Refit all other components, such as the brake caliper, then refit the strut to the car and test the suspension. It may be necessary to have your wheels aligned in case of any geometry changes owing to the new dampers.
Conclusion
If your dampers aren’t perhaps damping as well as they should then a fresh set can really transform how your classic car drives and handles. Whether you want to upgrade or simply replace like-for-like it is a relatively straightforward operation that can easily be carried out at home with only a handful of tools. Much like when replacing your coil springs you can remove the entire strut assembly should you wish but the whole process is entirely possible with the strut still attached via the lower ball joint. So, if your classic is feeling a little tired in the twisties instead of the agile apex-clipper it used to be then go and give it the old bounce test. It may be time for a refresh.