How To – Replace Your Exhaust Manifold Gaskets

November 11, 2024
Difficulty

What Do I Need?
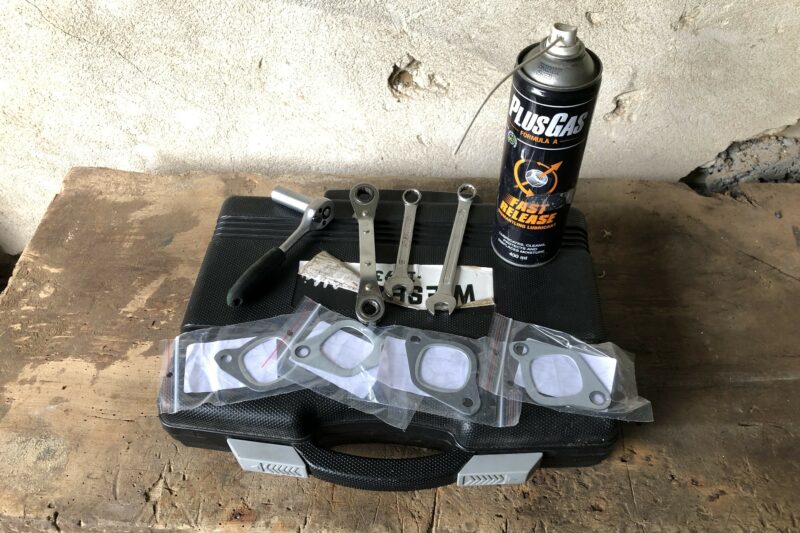
New exhaust manifold gaskets
Release fluid
Sockets and spanners
Release fluid (this is so important we’ve included it twice)
Wire brush (optional)
Why Should I?
You hear that ticking noise emanating disconcertingly from under your bonnet? Well, chances are it’s an exhaust leak where the manifold meets the engine, a leak that can not only wreak havoc with your vehicle but can also be dangerous for your health.
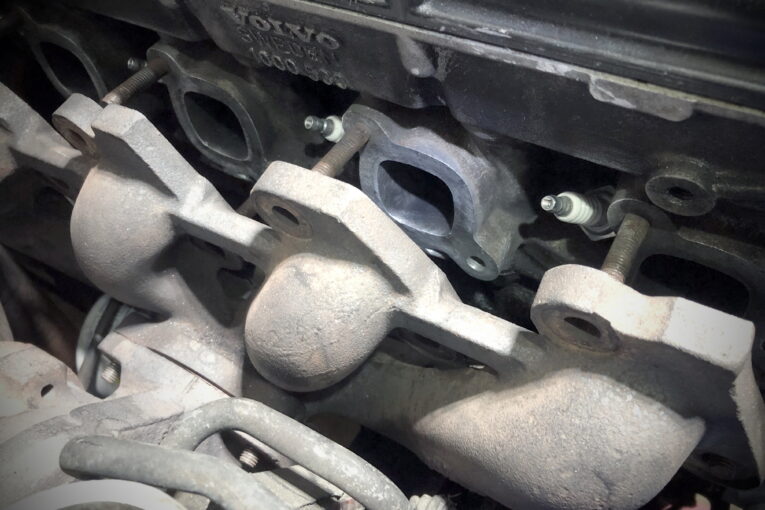
The exhaust manifold (or manifolds, depending on the size and layout of your engine) forms a major part of your car’s exhaust system. Think of it as a big funnel that collects all of the engine’s harmful exhaust gasses before directing them through the exhaust pipe via the catalytic converter and out the back of the car. Or the side if you’re super cool and have an AC Cobra.
Exhaust manifolds are bolted directly to the engine block with some form of gasket in between the two surfaces that creates an air tight seal, ensuring that all of those noxious gasses get into the exhaust pipe where they belong. These gaskets are service items and have a finite life and as such they will need to be replaced from time to time when they begin to fail. When this happens, not only do you have exhaust gases exiting where they’re not supposed to and potentially making their way into your body, but your engine will also be excessively noisy and receive potentially inaccurate exhaust gas readings at the O2 sensors. This in turn can cause increased fuel consumption and reduced performance, as well as damage to the exhaust valves, oxygen sensors and the catalytic converter, so maintaining this seal is imperative to the smooth running of your engine.
Talk Me Through It
NB: Ensure that the exhaust manifold can be moved freely to allow the gaskets to be replaced without damaging anything. This may involve removing certain ancillary parts as well as disconnecting the rest of the exhaust. It may also be worth raising the car on axle stands in order to gain access from underneath.
1) Before you even think about undoing any manifold fixings you’re going to want to douse them all in release fluid. We recommend starting this process at least a day before to ensure that they’re going to come loose without fighting you.
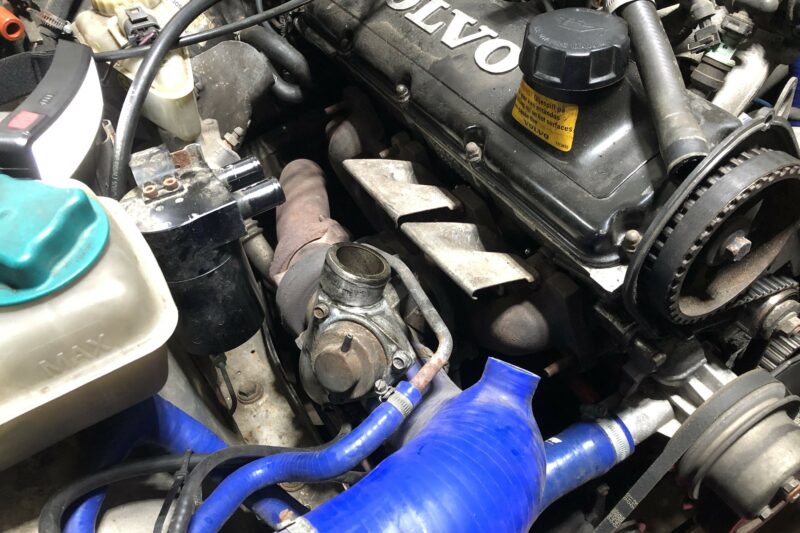
2) Remove any engine ancillaries (hoses, heat shields, HT leads, etc.) to give you full access to the manifold fixings. Remember to take pictures if you’re unsure how it all goes back together.
3) Spray all of the manifold fixings again with release fluid for good measure and then get cracking, quite literally, undoing them all one by one.
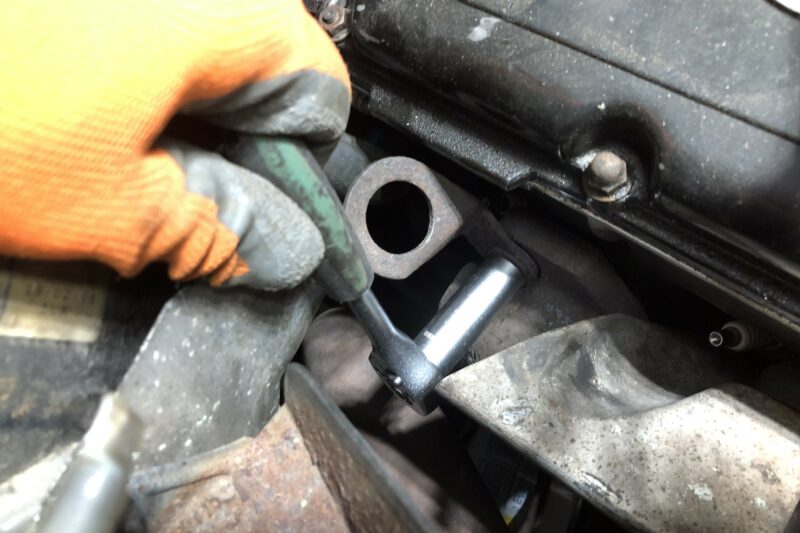
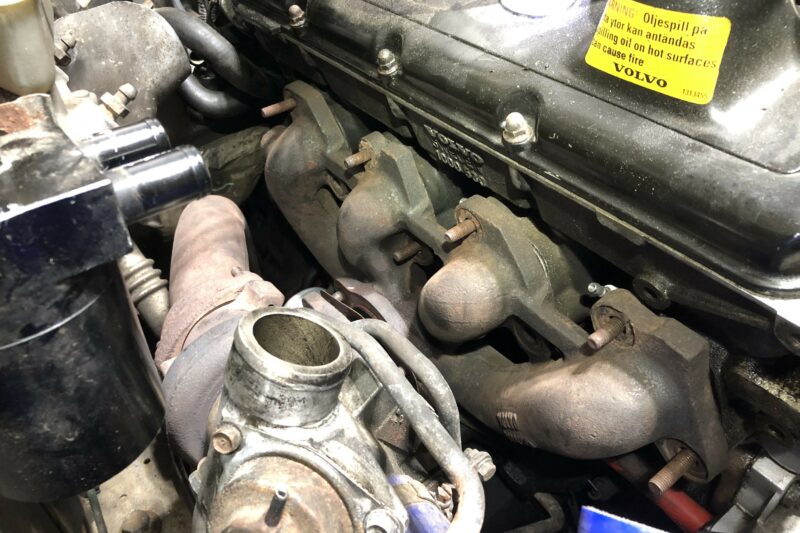
4) Once all of the fixings have been removed (and hopefully all of your studs have remained in place) displace the exhaust manifold far enough in order to remove the old gaskets.
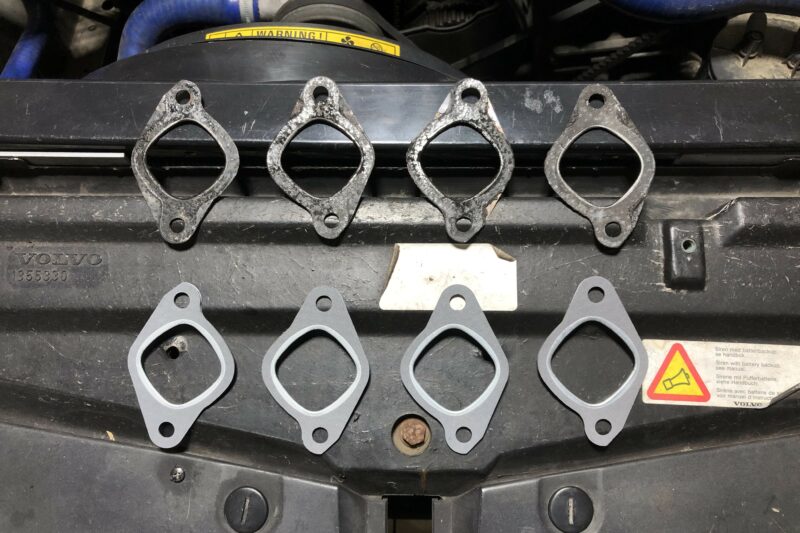
5) With the old gaskets liberated ensure the mating surfaces of both the manifold and engine are clean and free from any old material. You may have to attack these areas with a razor blade and/or a wire brush to clean them up depending on their condition.
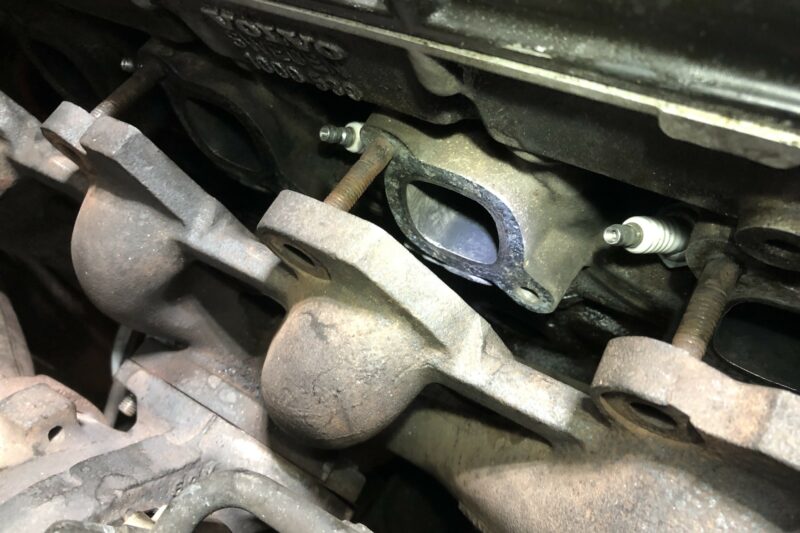
6) Grab your new gaskets and install them between the exhaust manifold and the engine.
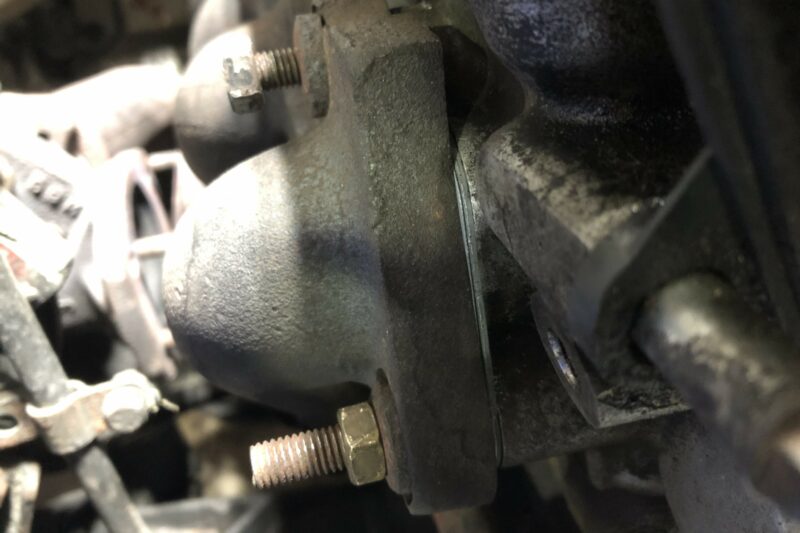
7) Refit the manifold and fixings and tighten them to their specific torque settings.
8) Replace any ancillary parts you removed earlier, start the engine and check for any leaks using a small piece of cloth or shop towel. If there’s a leak, the exhaust will move the towel.
Conclusion
A correctly functioning exhaust system will ensure that your engine is operating efficiently and save you from unnecessary exposure to any harmful exhaust gasses. There are few things more annoying than a ticking engine caused by an exhaust leak and for such an easy, inexpensive fix it’s not worth the hassle so if you suspect you have a leaking exhaust manifold gasket, get some replacements ordered and get to it. Just make sure to really soak those nuts…