How To – Use Body Filler

April 13, 2024
Difficulty

What Do I Need?
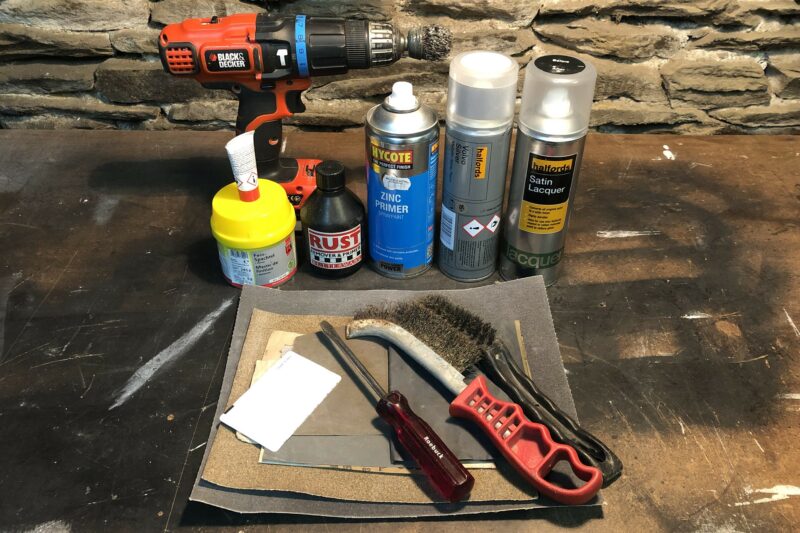
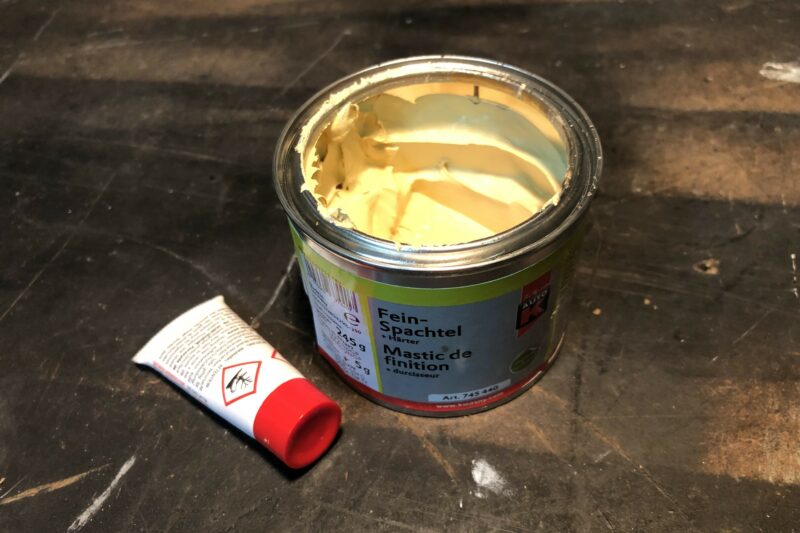
Body filler and spreader
Something to mix on
Flat head screwdriver and a wire brush/wheel
Sandpaper in various grades
Primer and paint (optional)
Why Should I?
If you’ve ever owned a classic then you’ve likely owned a whole chunk of body filler too. It’s just the nature of the beast, par for the course. Standard operating procedure. As we all know, old cars like to rust. They don’t discriminate, they all do it, unless they’re made out of fibre glass, but that presents its own issues. Our beloved steel-bodied babies can, do, and will rust but it isn’t always necessary to break out the sparkly spanner to get the repairs done.
People are careless, too and unless you never drive your classic then car park dings, small scrapes and other innocuous blemishes will no doubt feature in your life at some point and, in addition to the above rust spots, that’s where the humble body filler comes in, allowing you to successfully repair these indiscretions without the need for an eight week course or thousands of pounds worth of gear.
Being able to successfully finesse a bump, bruise, bubble or scratch is a vital skill to have in your classic car repair arsenal and if approached in the correct manner can be a rewarding and cost effective endeavour when it comes to keeping your pride and joy in ship shape.
Talk Me Through It
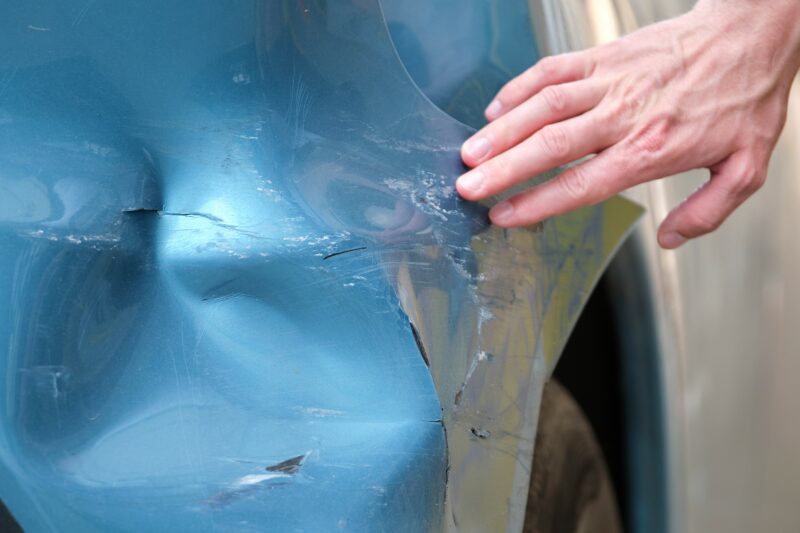
1) Prepare the area to be repaired by knocking loose and removing any dirt, debris and grime and then sand to provide a key for the filler to adhere to, wiping down once finished. If you’re repairing rust then ideally you want to get down to bare metal but if not you can use some form of rust converter before applying the filler.
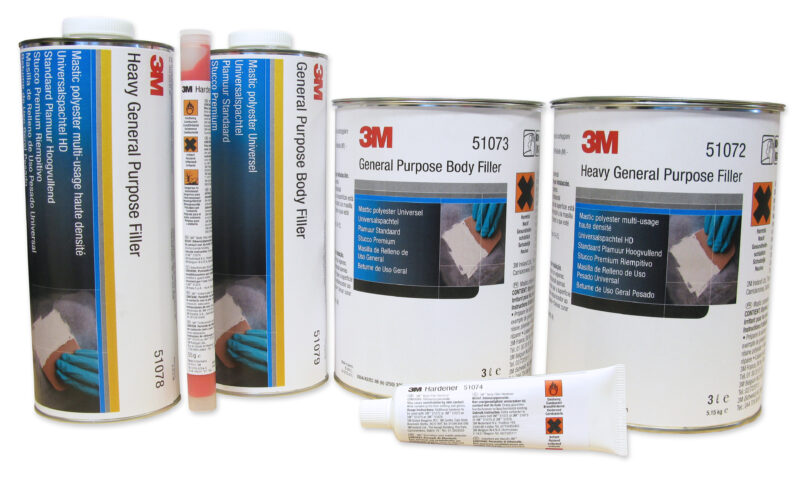
2) Body filler will genuinely come in two parts; the filler itself and a small amount of hardener so mix them together as per the product’s instructions. Most come with a mixing/spreading tool but if not use whatever you have to mix enough filler for the job at hand in a well ventilated area. It’s pretty stinky stuff and it will dry quickly so you only have a certain window of opportunity before it becomes unworkable.
3) Once mixed use a spreader to coat the affected area completely. Apply the first coat firmly so that it adheres well but avoid slapping too much on. You can always add more layers once dry. Extend the filler slightly outside of the damaged spot to help achieve a seamless transition when sanding back.
4) Let the body filler completely dry as per the product’s instructions and then, starting with a low grit sandpaper (around 80 grit), begin sanding. Switch to increasingly higher grits of sandpaper until you have a smooth surface that blends seamlessly with the surrounding bodywork.
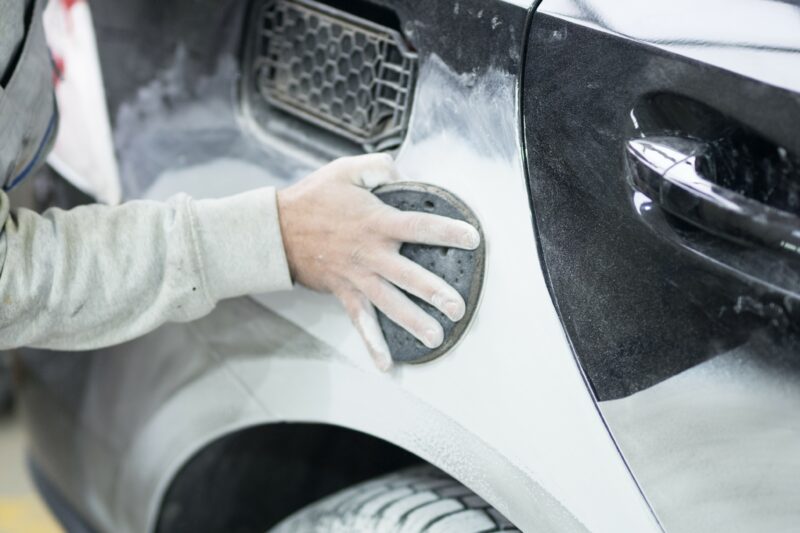
5) Repeat steps 2, 3 and 4, going over any low spots until you’ve achieved a perfectly smooth and level finish, remembering to let the filler completely dry in between coats and sanding.
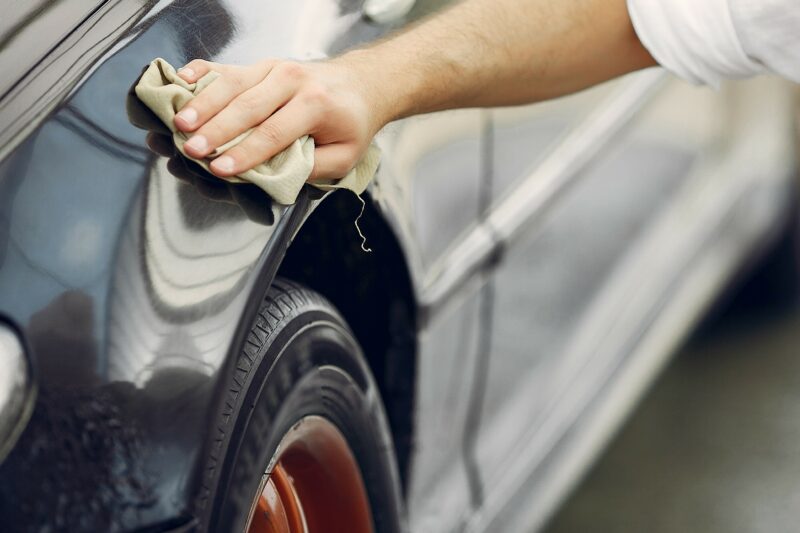
6) When you’re happy with the final finish wipe down the area to remove all dust and dirt.
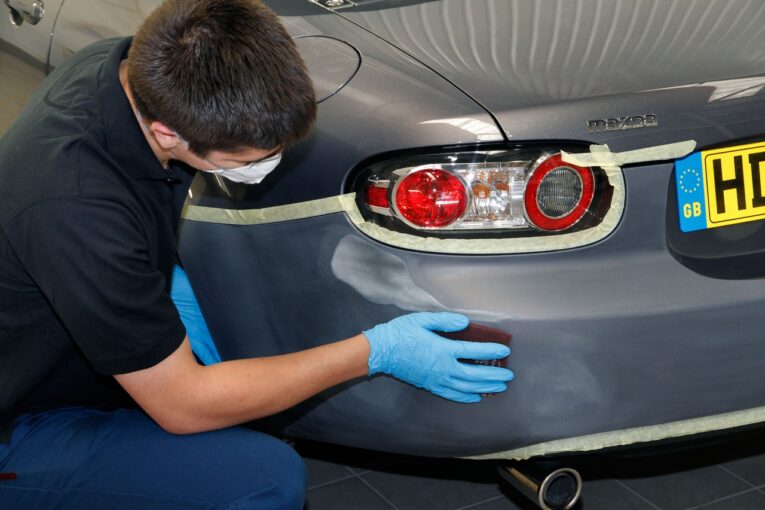
7) Apply primer, top coat and a clear coat in the relevant quantities to seal in the repair and colour match the area to the rest of the bodywork, if applicable.
8) Buff to a shine, step back and admire your handiwork.
Conclusion
Yes, when repairing corrosion it’s always better to completely cut out any rust and weld in fresh metal but this isn’t always cost effective or practical for smaller repairs and finessing with filler is sometimes a better option. It’s certainly the way to go when repairing scratches and dents. Don’t get us wrong, we’re not telling you to bodge anything here but a good quality body filler repair is perfectly acceptable and can last for a long, long time if done correctly, as per the steps above, so the next time someone opens their door on your beloved classic or you spot a little bubbling in the wheel arch grab some body filler and give it a go. Worst case scenario is you bugger it up and then take it to a pro to sort.