How To – Flush Your Cooling System

May 6, 2022
Difficulty

What Do I Need?
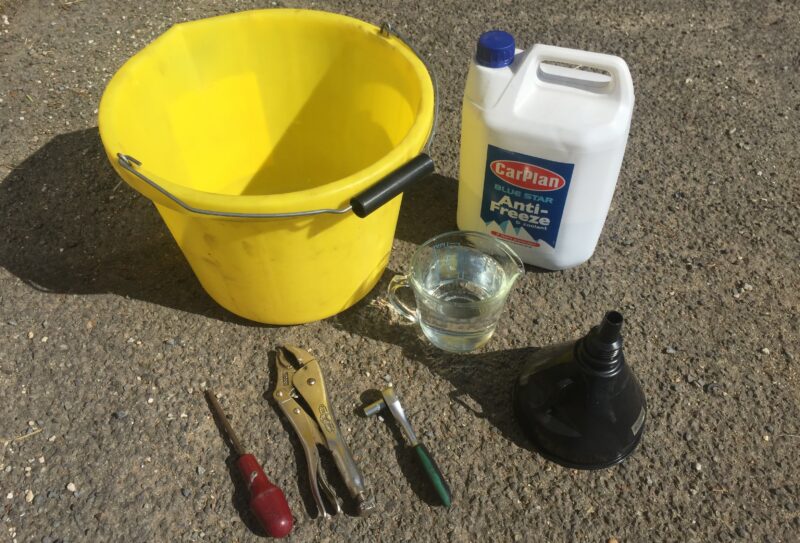
Some basic hand tools (sockets, screwdrivers, pliers etc.)
Fresh coolant/anti-freeze specific to your vehicle and cooling system
Distilled water
Drain pan or bucket
Funnel
Why Should I?
Keeping your cooling system in top condition is imperative to the health of your engine, and one of the best and simplest ways to do that is by keeping your coolant fresh and topped up. Regular maintenance of a car’s cooling system will prevent overheating issues which can be devastating if left unchecked. The fluid itself can deteriorate, diminishing its rust-inhibiting capabilities as well as the ability to cool effectively and contaminants may also have been introduced into the engine. We’ve all heard those head gasket horror stories and the single most common cause of failure is an engine that has been allowed to overheat.
Although a coolant flush isn’t required as regularly as an oil change, it is still an important process to have in your classic car maintenance arsenal. Aside from keeping the fluid topped up to the correct level, most manufacturers recommend a full flush of the system every 30,000 – 50,000 miles or so, or every three to five years. Flushing the system is different than merely changing the fluid as the process gets rid of all of the detritus that can build up and so is a much more thorough procedure.
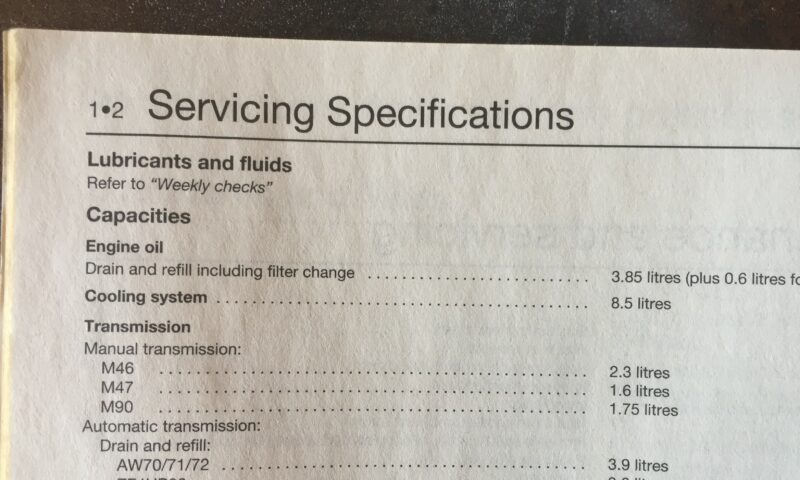
It’s important to use the correct type and quantities of coolant for your engine too as properties vary greatly and fluids made for newer cars will not necessarily be compatible with older vehicles, so check your service manual or the relevant online sources before shelling out.
Talk Me Through It
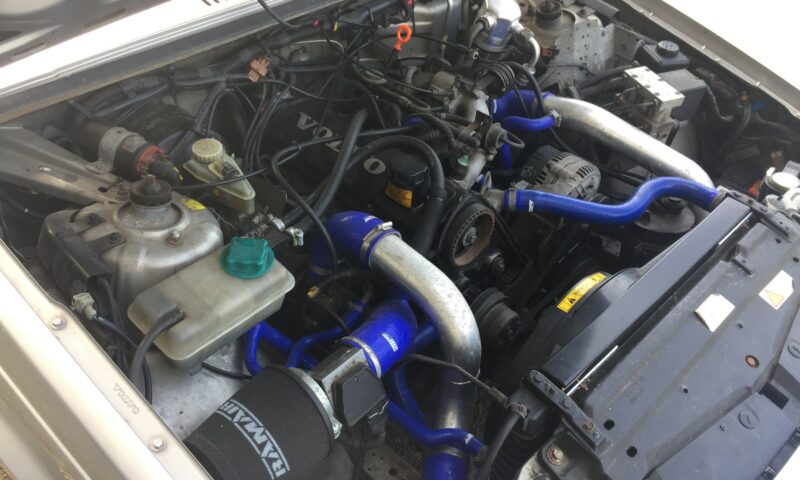
1) The whole point of the cooling system, and the coolant itself, is to transfer heat away from the engine. This makes it incredibly hot (shocker) so make sure the vehicle is cold before beginning. Locate the cooling system drain plug (if present) or the lowest part of the whole shebang, which is usually the lower radiator hose.
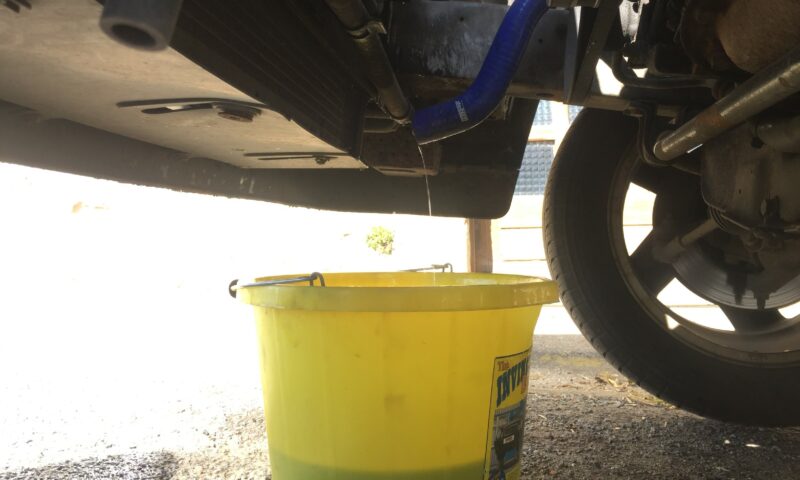
2) Remove the radiator cap and stick your drain pan or bucket underneath. You may have to jack up the car and get it on some axle stands but that’s fine. Then undo your chosen fixing, directing the used coolant into said receptacle. Inspect the old coolant as head gasket issues can present themselves by way of a creamy fluid indicating that oil is mixing with the water.
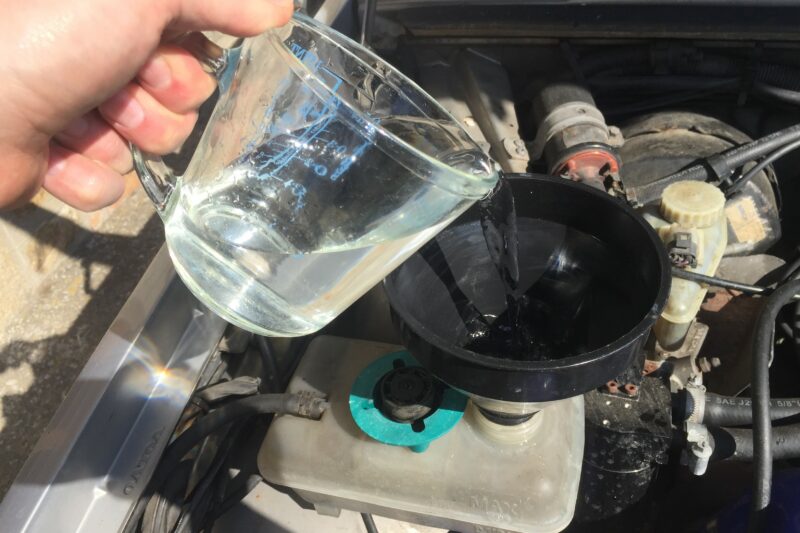
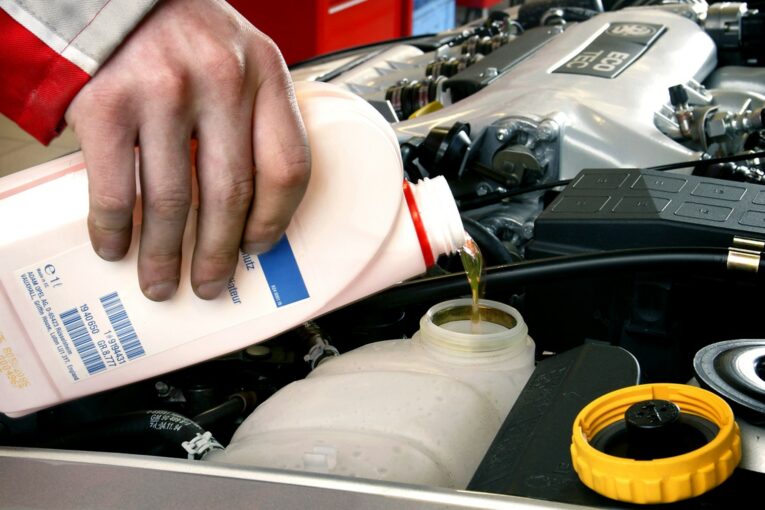
3) Once all of the fluid has been expelled replace the drain plug or hose fully and then fill the system with distilled water via the expansion tank or radiator using a funnel to avoid any spillage. Distilled water reduces the risk of corrosion and scaling inside the engine as oppose to regular tap water.
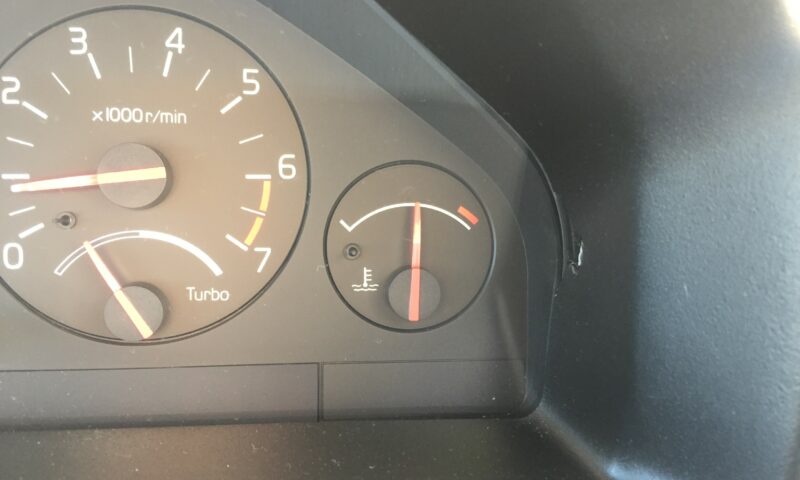
4) Once the system has been filled to the correct level start the engine and top off the water, then replace the radiator cap and let it come up to temperature in order to circulate the fresh water. Check for any leaks and keep your eye on the temperature gauge to ensure there are no issues or air in the system. It’s also a good idea to put your heater on full blast at the hottest temperature too to ensure everything is working correctly and the water can get into all of the passages.
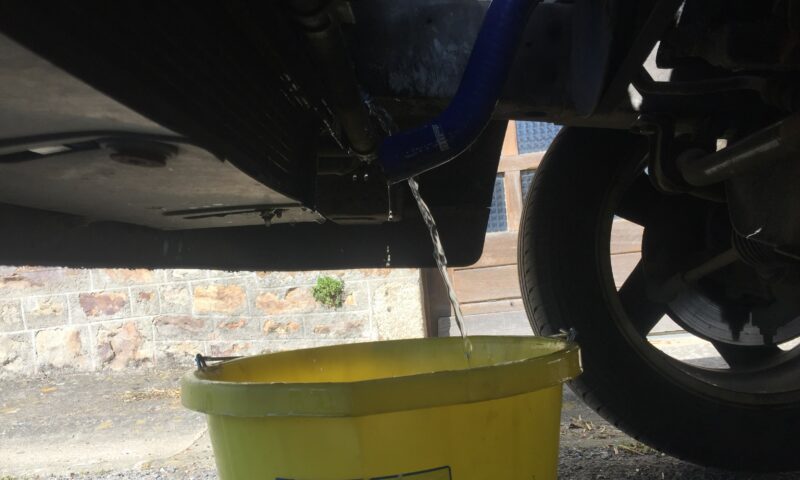
5) Let the engine cool down and then repeat step 2 above. Repeat the flush as many times as required until the water runs clear. Heavily sedimented engines can take a good few passes to expunge all of the gunk. It took two passes for us.
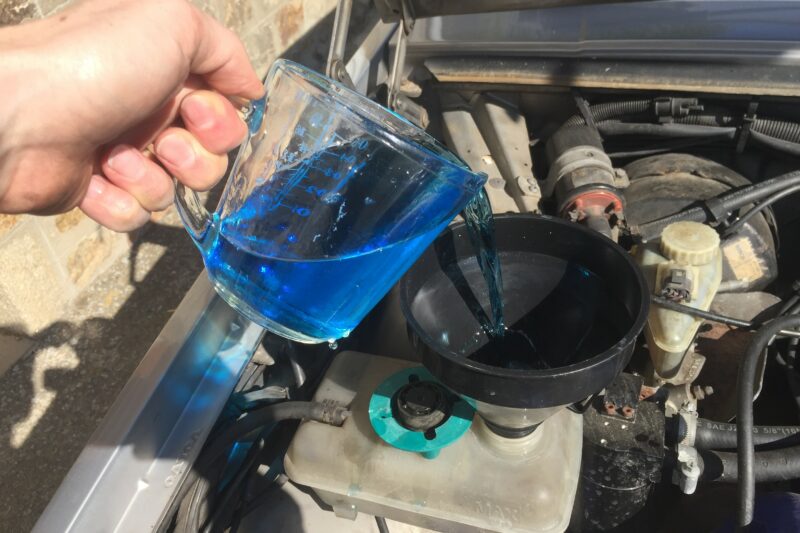
6) Again, replace the drain plug or hose and grab your coolant of choice (whether it be pre-mixed or concentrate that you have to add distilled water to) and then go ahead and fill the system to the correct level as per step 3.

7) Start the engine with the radiator/expansion tank cap still off to purge the system of any air – you will see it bubble and cough as the air is released. As the fluid level drops, top up with fresh coolant until all of the air has been expunged and the fluid is at the correct level, then replace the radiator/expansion cap.
8) Go for a drive and monitor the temperature gauge. Check again for any leaks and continue to top up the coolant regularly over the next few days if necessary.
Conclusion
And relax, safe in the knowledge that your coolant system is now working optimally, efficiently and effectively keeping the temperature of your engine exactly where it needs to be. Barring any issues with other components such as the water pump and radiator, for instance, (but that’s for another article) your cooling system should now be good for many more chilled and happy miles. Just as simple as an oil change it’s a great bit of preventative maintenance that even the most ham-fisted of us can accomplish ourselves. Again, like the used engine oil from last time, be sure to correctly dispose of the old fluid responsibly.